Walleye Spinner Fishing - Prime Time Basics

LOW450-5474.jpg

Walleyes are on a serious chew right now in most of the local lakes you fish.  Sure, there are lulls in activity and certain days are better than others, but you couldn’t pick a better time to wet a line.  An exceeding demand for bait stretches the available supply as most lake systems are just ramping up in biological activity.  Baitfish are spawning, but that young-of-the-year flush isn’t of snack-size just yet, so predators lean on what food is currently available in the system.  Couple that with the fact that the predator fish’s metabolism is requiring more energy, and you have a recipe for some steady fishing.

What goes up, must eventually come down however, and in the coming weeks you’ll see a slow and steady decline in the amount of suicidal walleyes you encounter.  Fish will push out of the shallows and emerging weeds to more mid-lake structural elements and the outer edge of weedlines.  They’ll also encounter some of the first hatches of the year, and that’s when you’ll be ready to pull spinners.

When To Pull Spinners

The first major hatch of the year has always been a great time to start pulling spinner rigs, crawler harnesses, or whatever local name you’re used to calling them.  Spinners are not exclusive to the bait they carry, but nightcrawlers on the business end of your rigs will reap benefits as mayfly and caddis nymphs burrow out of soft lake bottoms then travel to the surface.  Walleyes eat more bugs than people realize, and spinners featuring a crawler presentation offer an enticing package of vibration, flash, and bug-like meat on the end of the line. 

Of course, you’re looking for the right fish in the right locations to pull on too.  Spinner fishing is typically a moderate speed approach to finding and catching walleyes, so you’re looking for fish that are near bottom, spread out along long breaks and occasionally clustered in pods across structural elements. 

Usually, your electronics will tell you what speed approach is best.  Fish scattered few and far between are often better suited for crankbait fishing, at least until you find them.  Fish tightly concentrated in small areas call for slower approaches like slower live-bait rigging or vertical jigging.  So often though, we’re faced with a mixture of both, such that the medium speed approach of spinners pulled in the 1.0 – 1.5 mph range doesn’t put all of your eggs in one basket.

Multiple Speeds

Given the preponderance of fish so often strewn across a break, and our tendency to find pods of fish as we continue to pull, the problem with traditional spinners has always been that speeds less than 0.8 mph or so, depending on the size and shape of the blade, don’t reliably turn the spinner blades for max attraction.  That’s where butterfly blades and smile-style blades come in. 

Both butterfly and smile blade designs turn at slower speeds allowing anglers the ultimate flexibility in pulling at standard speeds to find and encounter more fish, while dropping down to as slow as 0.25 mph over concentrations of fish you want to really stare at your presentation.  You cover two of the 3 major walleye speeds of delivery with a single system, giving you the ability to fine-tune your presentation as you go.  Smile blades have been around for some time, and are a bit more bendable, but aren’t as durable or put off as much vibration as the more rigid butterfly designs. 

Weight Systems and Extras

Using the right weight style, and appropriate size is paramount to success when fishing spinners of any variety.  Most anglers pull these rigs on a wire bottom-bouncer, with a general rule of thumb being one ounce of weight for every 10 feet of water you’re pulling in.  Bottom bouncers work great in most situations, but even taller weighted “sticks” are the order of the day for jagged rocks, logs or other extremely irregular bottom.    

Floats are another addition for many spinner anglers in snaggy conditions, or when fish are elevated a foot or more off bottom.  These are typically put in-line on the spinner rig, just in front of the hook, and can make all the difference with active fish. 

Slow-death style hooks with an irregular bend are another addition we’ve been seeing in recent years.  Proven over years on the tournament trail, this hooking method requires a special slow-death style hook, and a nightcrawler threaded all the way up the shank to the hook-eye.  The bend in the hooks and rigging of the crawler causes it to spin, and these style hooks are more commonly paired with spinners of all types these days. 

No matter how you pull a spinner rig, experiment with the various blades, additions, rigging methods, and weight systems covered here for the situation you’re facing on the water.  Pairing the right tweaks at the right time will have you prepared to zig when others zag, and have you fishing ahead of the curve. 

The Keys to Successful Jig Fishing

Few baits will ever be as successful as the plain lead-head jig.  As a bait-delivery method or a stand-alone option, it excels for multiple species throughout the country, moving water or stagnant, stained or clear.  It can be swam, hopped, plopped, dropped, dragged, shook, pitched, and fished vertically, among other presentations.  No matter how you choose to fish it, there’s a species that’ll eat it on every water body near you.  However, that doesn’t mean it’s necessarily easy to fish, and it can be downright challenging if you’ve never been much for jig-fishing. 

I learned to fish jigs on a river system in current, which is quite the curveball compared to natural lakes.  With moving water, you need to take into account more variables like sweep, casting angle, mono vs. braid, among others.  However, with a few pointers, anyone can catch fish with jigs.  Here’s a few to get you started in the right direction.

Use the Right Tools for the Job – Start with a lightweight, high-quality carbon-fiber (no fiberglass) rod in an Extra Fast (XF) action, along with a featherweight reel combination.  Jig-fishing, perhaps more than any other technique relies heavily on feel, and you simply can’t feel much with poor equipment.  While there are techniques that don’t require you to spend as much on a rod and reel, here’s one instance where you really get what you pay for, and better tech quite simply leads to more fish. 

Line – Start with braid and a fluorocarbon leader of a few feet in length, joined by an Albright Special or Uni-to-Uni knot.  This offers you the best ability to feel the jig, while still having some stealth with the nearly translucent fluorocarbon line up against the jig itself.  Mono can excel in certain situations, especially in current where the sweep and way it cuts through the water presents the jig differently, but braid offers you the best feel overall.

Map the Bottom – Your first couple of casts should be an exploratory mission, as you decipher clues that are telegraphed back to your rod-hand.  Cast out and let the jig settle to bottom.  Then slowly drag it back to you, hopping or with mixed-in quicker pulls along the way.  You’re actively figuring out substrate at distance, such that you can understand the big picture and where fish will be holding.  Like any experiment, start with a “control” retrieve, and compare various types of retrieves thereafter. 

No Cross-Wind Casting – No matter the orientation of shore or where you’re pitching, wind could be the single largest inhibitor to your catch-total for the day.  Position your back to the wind, or directly face it to enjoy far better direct contact with what your jig is doing.  Drift into a crosswind, and every fish in the lake could hit your bait on a single retrieve, and you’d never know it because of the huge bow in your line.  Wind triggers many fish species up shallow, so on these days, mitigate the effect by keeping your rod-tip close to the water and off to one side of the boat to reduce that problem.

Stay Back in Clear Water – Jig fishing can only be productive in the clear shallows when you’re not driving over fish.  In hyper-clear water bodies like Mille Lacs, this means fish spook in 10FOW or even more, meaning you have to stay over deep water and simply pitch a little bit further up to the zones you’d like to cover.

Fish From the Outside In – When fish are schooled up near cover, it pays to work your casts from the outside in.  As you pick off fish after fish from the outside, you have less chance of disturbing an entire school by casting up to the center of the most prime piece of cover.

When Vertical, Stay That Way – Vertical jigging works really well in deeper water, but only if you keep your rod tip directly over the top of the bait.  Poor boat control when fishing vertically leads to baits off bottom, and less ability to detect bites, especially when the bait is under the boat. 

Re-Bait – Whether plastics or live-bait, degraded or destroyed additions to a jig hinder the action and direct appeal.  Resist the temptation to leave it on for “one-more-cast” and put your best bait forward.  It’s amazing how selective fish can be at times, and at the end of the day you may only use a handful more minnows or plastic grubs.  Call that cheap insurance to a successful bite. 

Focus – Probably the single biggest deterrent to catching fish on a jig is distracted fishing.  If you prefer to doze off, drink coffee, or otherwise just relax, start trolling or bobber fishing.  The best jig anglers I know are machines.  They’re casting, processing bottom content, hooking walleyes, and positioning the boat for the next cast.  They’re mentally engaged nearly all of the time, as they pick apart pieces of structure bit-by-bit.  While it’s true that the more you pay attention for any fishing scenario, the more you’ll catch, with jig-fishing it’s absolutely critical.    

untitled-0148.jpg

What Jig to Fish & When

We are programmed to understand that not all lure types are created equal, with different baits serving different needs seasonally for varying species.  What about baits in the same class however?  While we grasp the thought that a jerkbait is not the same as a spinnerbait, we tend not to distinguish characteristics in-class, with jigs being no exception.  That said, there is a huge number of jig-styles, sizes, shapes, and colors, with all sorts of hardware and appendages molded-in or otherwise attached. 

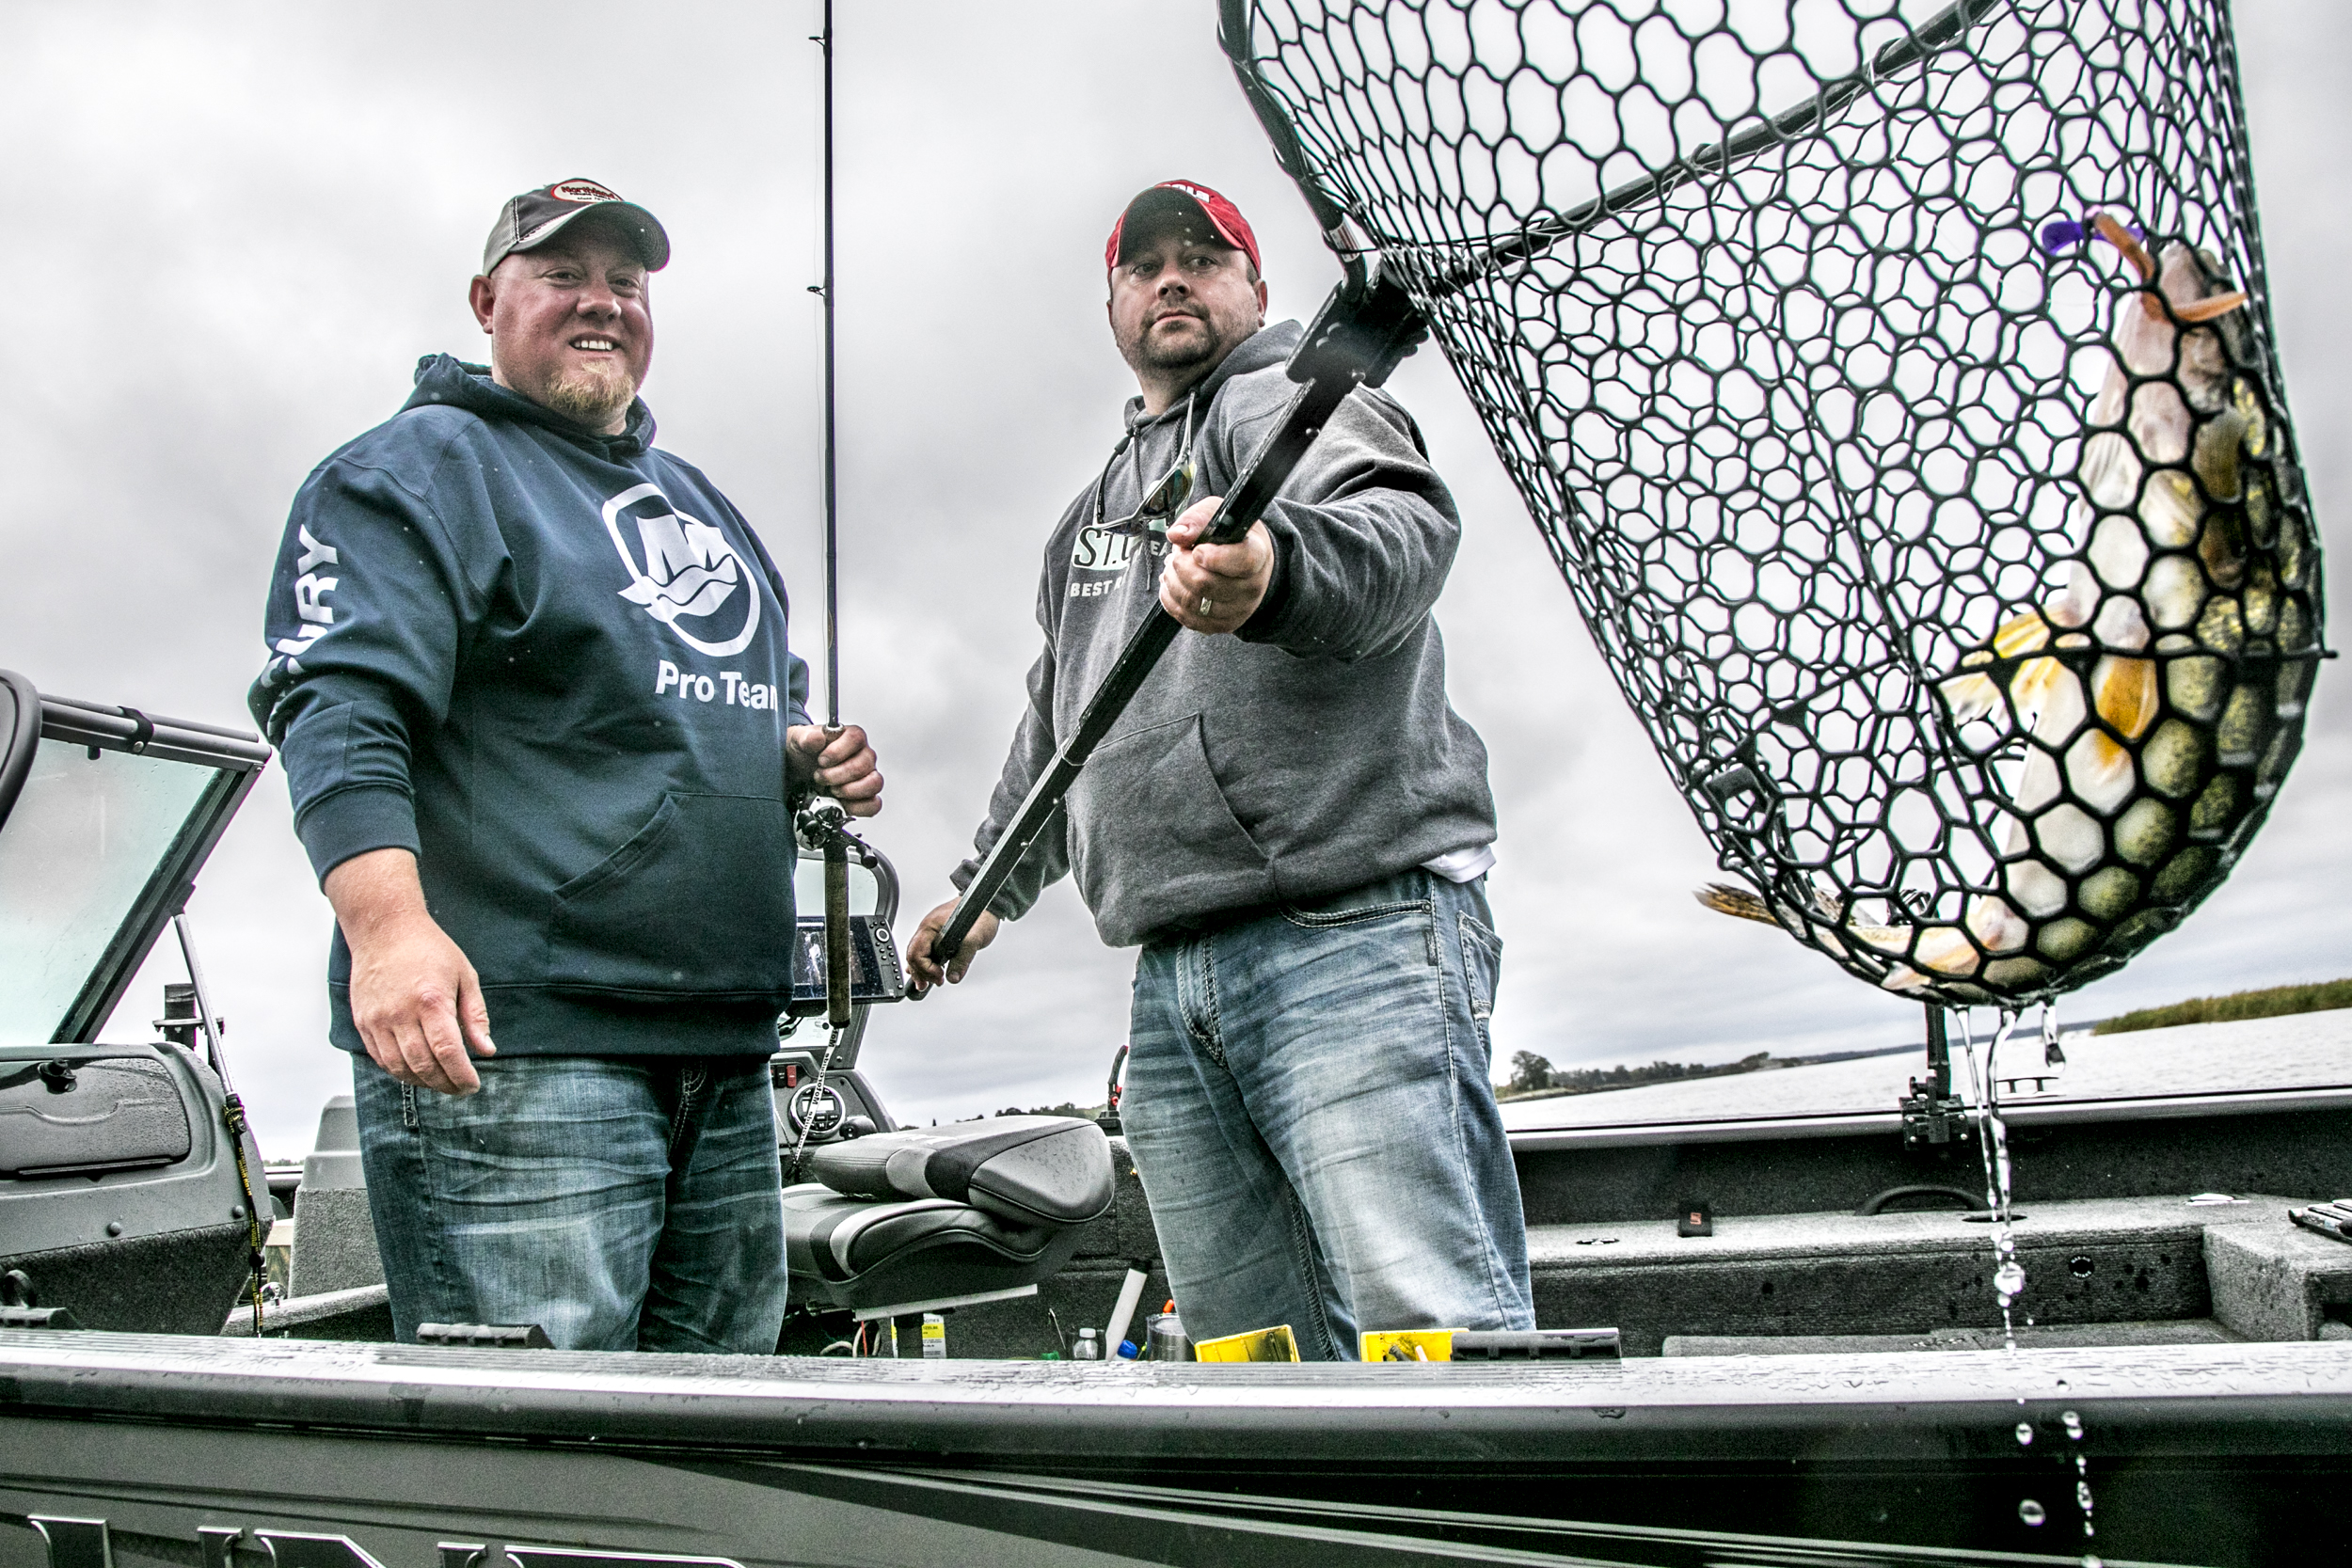
I have my favorites, but I thought I would call in the advice of successful Dakotas guide and Northland Tackle Pro-Team Coordinator Cody Roswick.  Cody knows his way around both North and South Dakota, often using jigs to guide his clients to quality fish no matter where the bite takes him, or what technique the day calls for.  Like with most guides and pro’s I have fished with, small details frequently reap huge dividends, so it pays to pair the right jig to the scenarios you fish.  Here is a quick run-down of some popular styles, and how to go about choosing which variety to use, and when.  

Jigs For Minnows – These two are an original pairing that have stood the test of time, and Cody fishes them primarily during the early season.  With designs like the Fire-Ball that offer a secondary-eye to attach stinger hooks being extremely successful.  Having the option to attach that extra treble for short-striking fish can really be handy, even if you start the day without.  For larger minnows like shiners, consider this option or other jig types with a long shank that places the business end of the hook further back on the minnow. 

Jigs For Crawlers/Leeches – For the most part, you have quite a few options here, especially with leeches as provided you hook them in the sucker or just underneath, you will not have to worry too much about the hook holding your bait.  With crawlers however, you will want a keeper at the base of the jig ball itself to retain the bait and prevent it from sliding down the hook shank un-naturally. 

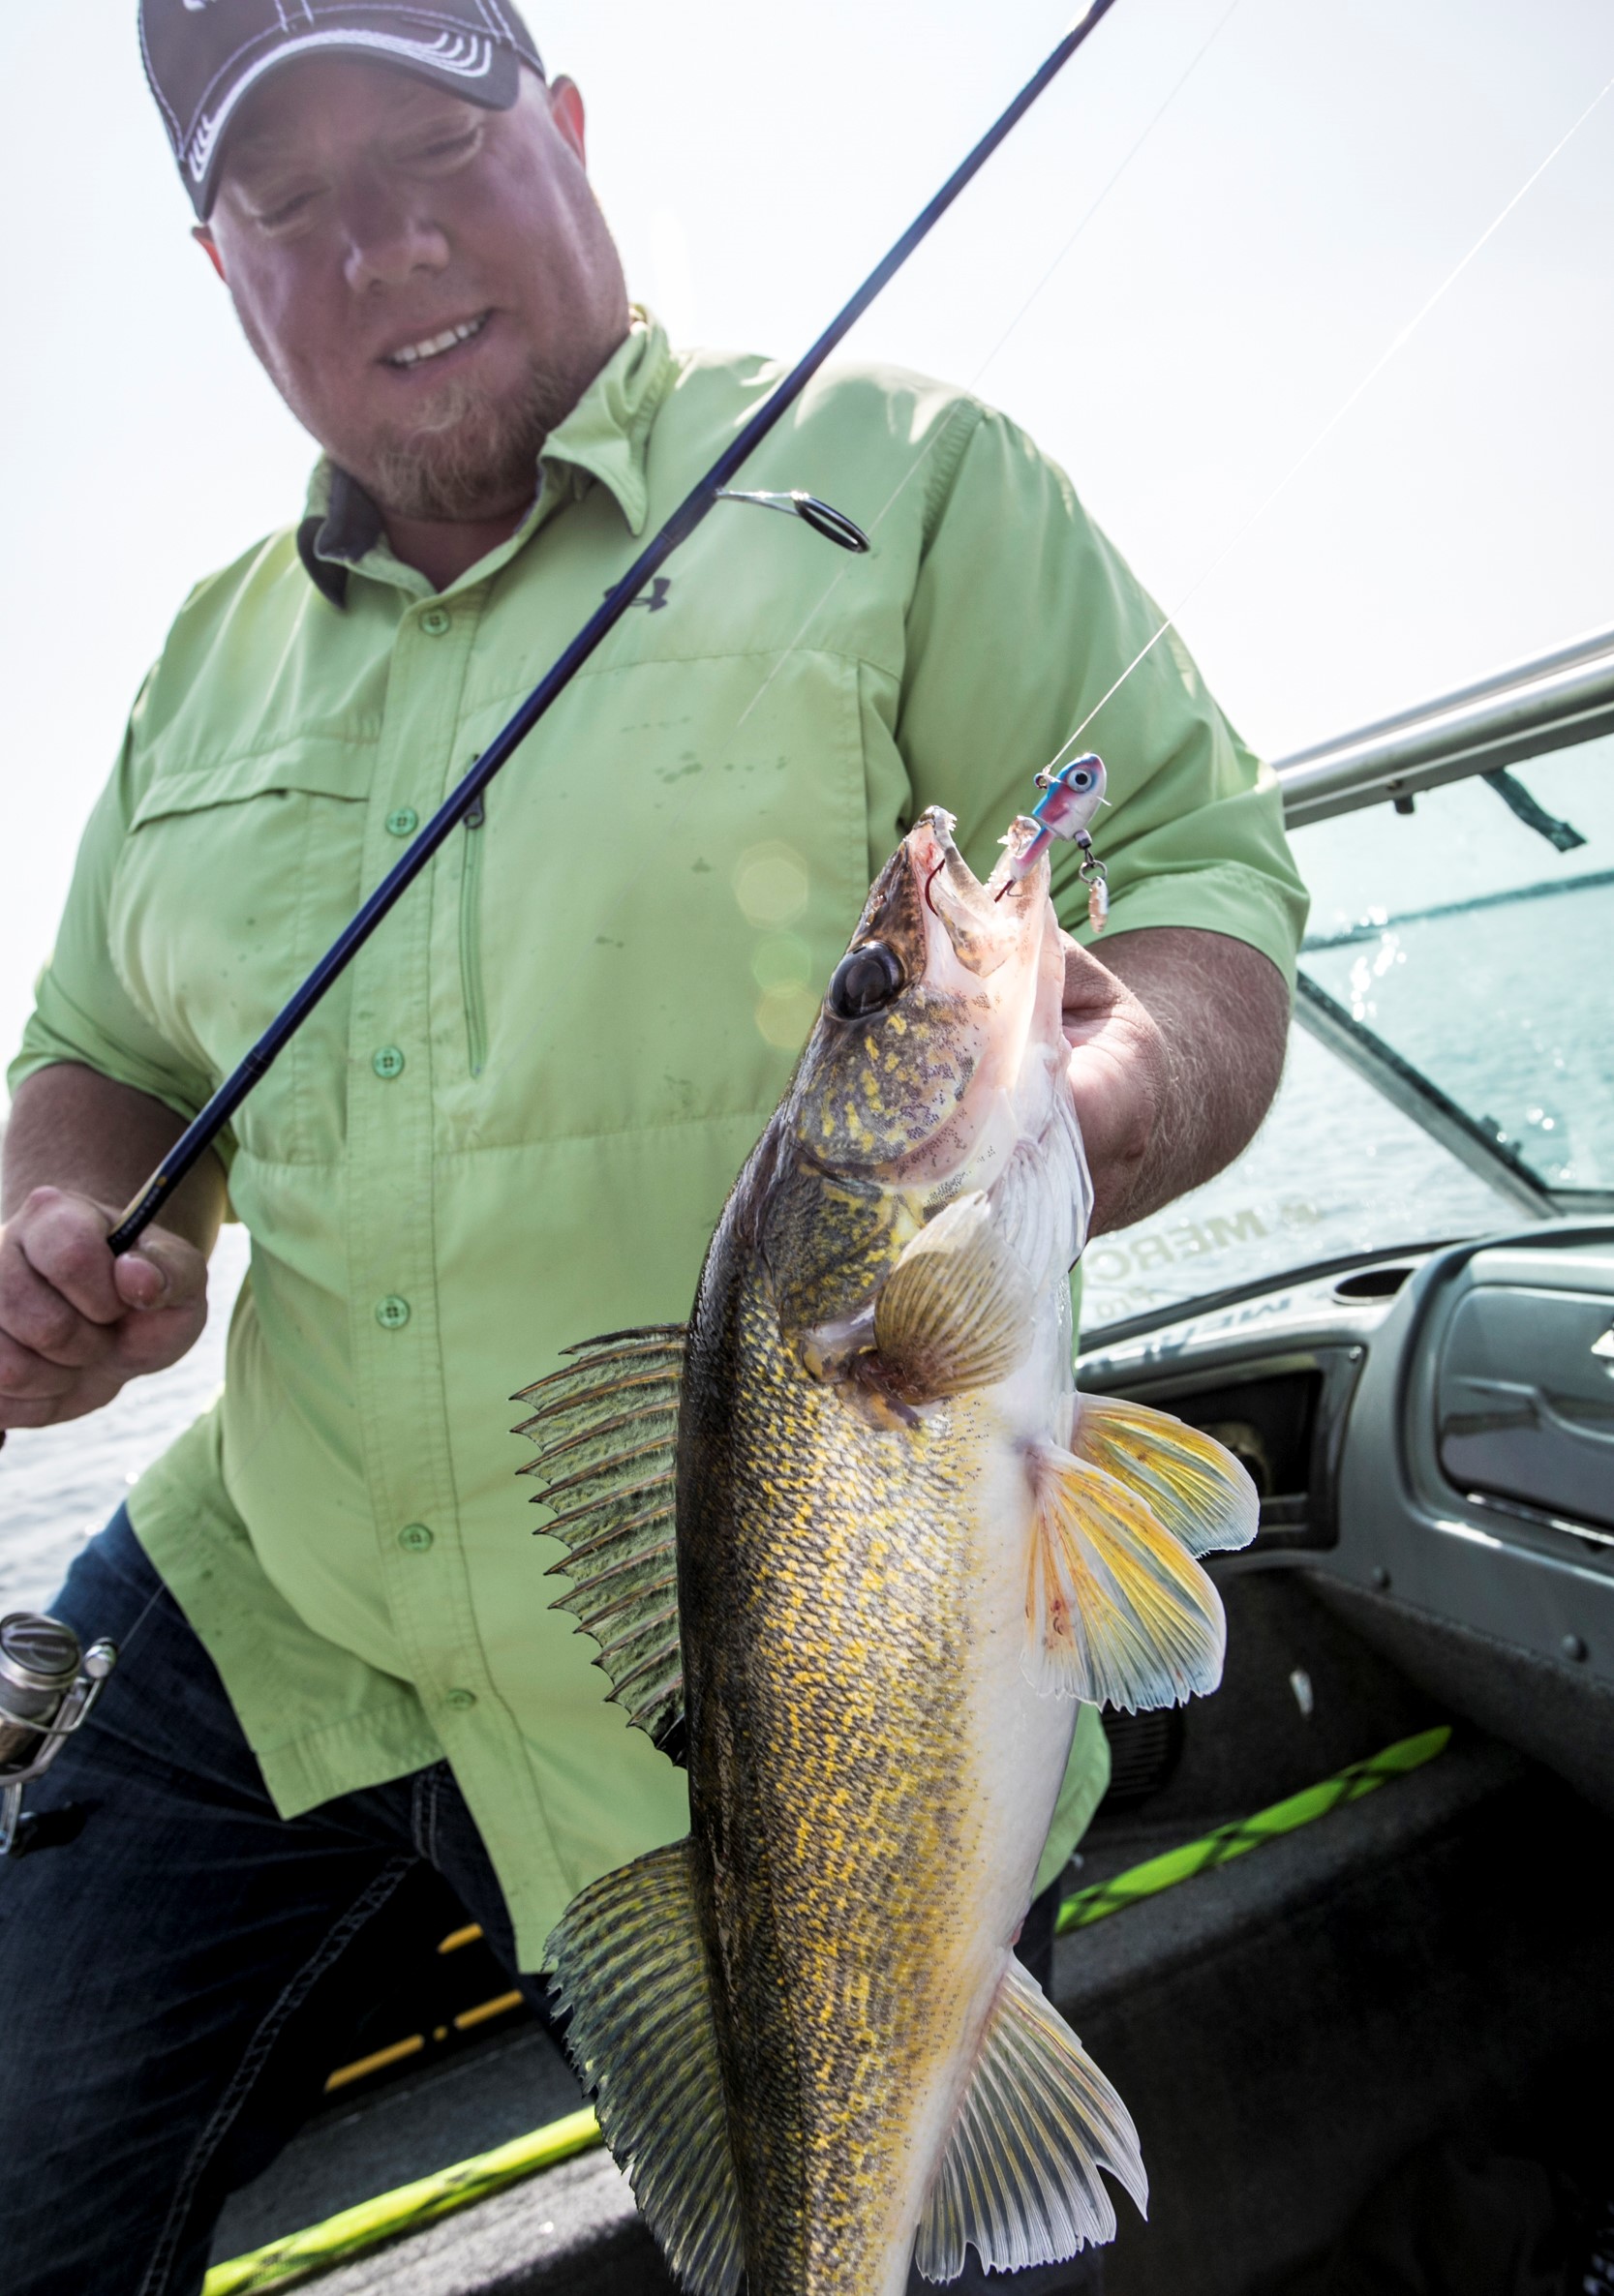
Jigs For Plastics – As water temperatures warm, live-bait options for walleyes lose favor to plastic imitations, but you will want some different jig designs for fishing them.  Cody says, “Wire barbs for keepers will prevent everything from bluegills to bass pulling at the tail end of the plastic all the way down to the hook bend.”  Roswick continues, “Not only does this rip your plastics option of choice, it frequently causes the bait to run un-true.”  Premium models that do the best job of avoiding this issue will have dual-barbs or wire-keepers that truly lock the plastic to the base of the jighead. 

Stand Up Jigs – Use this type of jig style in river areas when trying to drag bottom, or lakes when again trying to trace as close to the substrate as possible.  Often, bottom contact can be a crucial part of the presentation, and that is when stand-ups are worth their weight.  “These jigs shine in helping fish suck that bait off of bottom, as the hook points up and back at a 45 degree angle in their face,” mentions Cody.

Jig/Spinner Combinations – This group encompasses a number of jigheads from thumper-style models with a swivel and blade beneath them, to a whistler-style jig with an in-line twin-rotating blade.  Both perform similar tasks in creating flash and vibration to attract fish from distance.  “This can be important in river systems or natural lakes with limited visibility,” says Cody.  “I use them a lot with live-bait when fishing vertically, especially deep river systems.”

Current Cutter – Pill-Shaped Jigheads – Speaking of rivers, current-cutter style jigheads have made some strides in recent years, as the pill-shaped and more elongated design simply offers less drag in current.  “That allows you to fish lighter, while still getting down to the fish,” says Roswick, a key component to many river situations where current can keep a jig higher in the water column than you want it.

Floating Jigs – Of course, one of the best ways to stay near bottom is to rely on another weighting system other than the jig to keep you pinned there.  That makes floating jig head options a mainstay in many anglers’ boxes.  Present livebait in any manner with confidence, knowing your bait will float just above the snags.  Add some current to the mix, and many designs like the Gumdrop or Phelps-Floater will jog side to side like a crankbait for added action.

Hair Jigs -  Whether animal hair like bucktail, marabou, or other synthetic materials, these skirted jigs are often tipped with bait and presented both vertically or casted.  You will need different weights to satisfy the various depths, but hair is a great way to add bulk, color, and life to an otherwise plain offering.  In lakes and rivers, hair jigs do not get as much press as they deserve.

Weedless Jigs – Designs like the Weed Weasel and others with plastic deflectors in front of the hook point are classic heavy cover options.  Roswick who fishes the trees of North Dakota’s Devil’s Lake says, “They’re a mainstay for me anywhere near weeds or timber, and they have a heavy hook if you need to horse them out of nasty cover.”  Tip them with your live bait of choice, and consider them anytime you are afraid to throw other jig styles into the thick stuff. 

Sonar Basics - Marking More Fish

MilleLacs150-5161b.jpg

Sonar Basics – Marking More Fish on Your Hardwater Finder

From the day you get your first flasher, the ice-fishing universe is forever changed.  I was 10 years old, the year was 1989, and for 25 bucks I got my grandpa’s old Lowrance 2330 which he had since given up on “figuring out.”  It was fairly simple to operate, and even conceptually, didn’t seem a technological marvel for its time, but what it did for your fishing was borderline magical.  I screwed together some one-inch pine strips in the shape of a “T,” used electrical tape to secure the open-water transducer to the bottom of the wood, and set about dropping that ‘ducer into as many ice-holes as I could hand-auger.  Not only could I use it to catch fish and track how they responded to my bait, I could use it to find active fish before I even wet a line.  At the time, it was considered somewhat odd; almost a novelty.  Now, ice-fishing electronics are a multi-million dollar category, and the thought of fishing without one seems pointless.

Today, we have many options at our disposal.  Digital or mechanical, circular or flat-screened and square, there are a number of shapes, sizes, manufacturers, specs, and statistics to consume.  Instead of focusing on how they’re different, I’d like to highlight similarities to help everyone, regardless of brand, simply mark and catch more fish.

Undoubtedly, there’s an on/off switch, frequently connected to a setting which adjusts the depth of the display you’re fishing.  This is important, as you always want to be using the depth display that barely contains the depth you’re fishing.  If you’re in 32 feet of water, you want to be using the 40 foot scale, not the 80 or beyond.  Next, you’ll want to set your gain or sensitivity appropriately.  This is the other main adjustment on your flasher, and is of critical importance as it determines how “open” the receiver in your transducer is to gathering return sonar signals.  Your goal here is to set the gain as low as possible while still seeing your jig as a clearly defined mark.  Turn it too high, and you’re receiving a fair amount of noise in the form of double signals, and are also making the marks on your graph abnormally large.  This hinders your ability to see what’s going on by covering up valuable real estate on your sonar screen.    

Interference rejection (IR) is another topic to discuss.  Do you notice intermittent marks that show up, racing in a circular pattern, thus blocking your ability to see fish or your bait?  Work with nearby electronics users by adjusting your IR one unit at a time, partnering to remove interference for everyone.  Make sure gain settings are as low as possible to reduce the effect of this problem.  In deep water with hard bottom, expect this to be something you’ll need to address as sonar bounces off hard objects quite well, and over large distances has the opportunity to bounce off other signals that are produced by itself or other units.

All of these more basic tasks should become part of a routine that’s simply habitual every time you step onto a sheet of ice.  While they may seem rudimentary in their practice, you’d be surprised how many ice veterans run with high gain settings, no interference rejection, or the improper depth scale reading. 

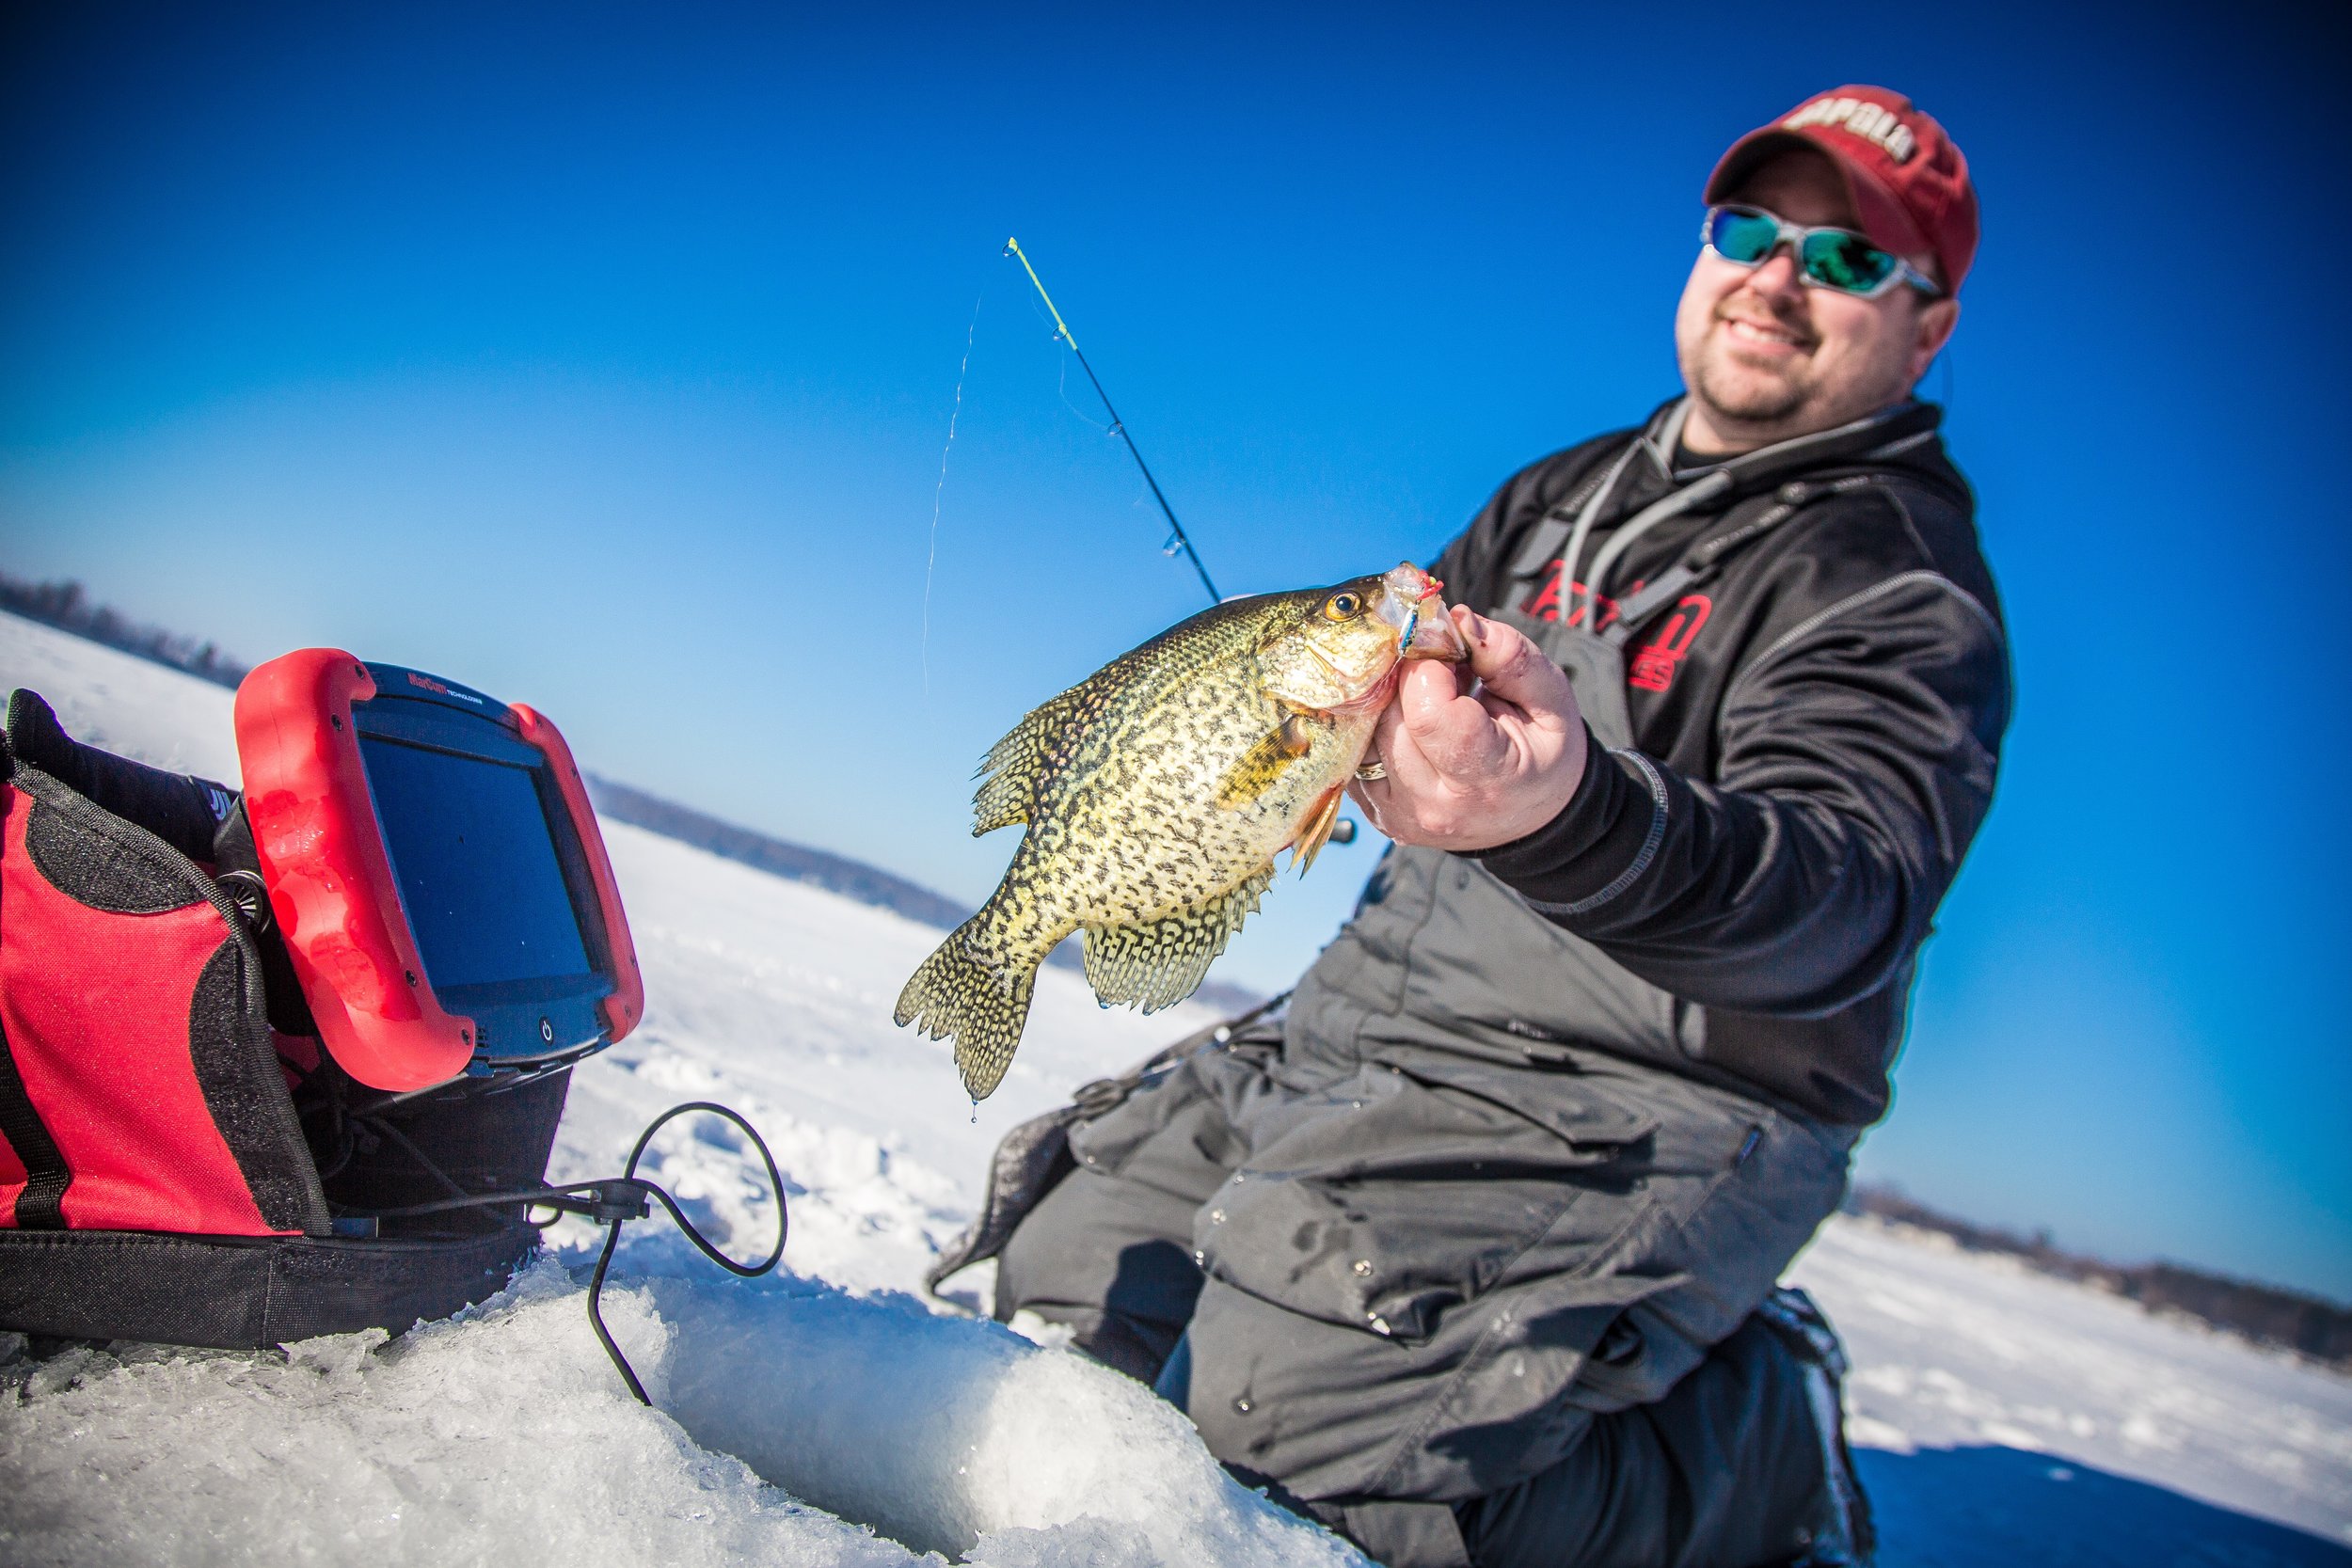
Now, you need to focus on putting more fish on your screen, which of course comes down to where and how you’re fishing.  Without going into those topics entirely, make sure you’re fishing in a location where you’re likely to see some activity.  Choose a target-rich environment.  A pond or local lake where panfish are plentiful, such that you get a chance to study your ice electronics and learn them better.  If you have an underwater camera, even borrowed from a friend, try your hand at comparing and contrasting what you’re seeing on both your sonar and camera when fish are present.  That tip alone will fine-tune your skills with the sonar without ever having to drop a camera.

Another trick is to run with the widest cone angle setting you have.  That allows you to take in more lake-bottom real estate, and ultimately mark more fish.  Narrow beams can be run on steep drop offs or with other friends in close proximity to remove IR, but at first, run wide open.  Hole-hop and cover some ice-estate as well, as I’m a firm believer that when it’s possible to roam the open-ice, you’ll simply mark more fish to work that hopefully end up hitting the ice.  Feel free to swing the ducer in deep water, in an attempt to mark fish off to the sides of your hole.  This can work well for suspended crappies especially. 

For most sonar, observe how a fish at the edge of the cone angle starts at the weakest color or hue, then progressively moves to dark red or simply darker hues as the fish nears the center of the cone.  These are big cues on not just what you’re looking at, but how to best jig and offer your presentation to get bit.  Jigging too aggressively, especially when the signal is dark or red, is probably the number one deterrent to a fish biting, so learn to become more subtle as fish approach and colors change.

Drop your sonar over weeds too, such that you know the difference when you’re hole-hopping.  Typically, they offer a weaker signal in return, rather than the dark or red target of a fish.  Experiment in rocks and wood too, noting that while they produce a distinct and substantial return, they don’t move!

Marking more fish on your sonar simply equates to more fish caught, so spend ample time learning your electronics of choice, then make sure to present to as many fish as possible until your sonar becomes your underwater eyes.

You Bought a Wheelhouse - Now What?

A good generator, and 30-amp electrical hookup with a 15-amp converter aren't the first thing you think of after buying a wheelhouse, but you need power to fish!Photo Credit - Matt Addington Photography

A good generator, and 30-amp electrical hookup with a 15-amp converter aren't the first thing you think of after buying a wheelhouse, but you need power to fish!

Photo Credit - Matt Addington Photography

You Bought a Wheelhouse – Now What?

I’m an over-planner.  I simply have to “over-do” it to be confident in performing about any outdoor task, but even I was surprised at how much preparation can go into equipping your wheelhouse.  I know from experience that just as a properly rigged boat catches more fish, any time on the hard water is best served with a healthy dose of preparedness.  That said, with a wheelhouse, the fishing portion of the planning is just the beginning.  You’ll sleep out on the ice with this unit, making it as much a Recreational Vehicle (RV) as it is a fish-house.  Yet, with the fact that this house will sit on a sheet of frozen ice, camper kits or RV-lists  won’t fully equip you either.  Here are some sure-fire ways to be ready for everything, along with a list of what you might not have thought of.

Exterior

First think about all of the operating mechanicals that go on regarding the exterior of your wheelhouse.  Start from the hitch and go to the tail, thinking about both trailering and dropping the house.  You may need a drop hitch to properly balance your load.  Consider a fully adjustable one with multiple ball sizes such that you’ve always got it attached to your tow vehicle and you’ll never need to find a specific one for just your wheelhouse.    You’ll need everything from bolts, wire, and a full set of tools with which to help wield those extras.  You’ll also need a trailering kit, which is a simple plastic tub filled with a grease gun, shop towels, a 4-way tire wrench to change a flat, and a hub kit.  Pass on the bearing kits themselves and instead elect to replace the entire hub should you smoke a bearing in sub-zero temps. 

Don’t forget extra pins, especially the trailering ones, as these love to get lost in the snow.  Bring a chisel and jack to help out in the event of a freeze-down, wood blocks to prevent freeze-down, and a shovel to help bank snow around the exterior.  Consider a small propane torch should your door be prone to freeze-up with all the hot-to-cold created condensation.  Last but not least, throw in a head lamp or two should you have to fix anything in the dark.     

Heat and power are a requirement on the open ice, so make sure your propane tanks are full (and fully operational), and that you throw a portable generator into the truck as well.  There are lots of generator options out there, but keep in mind that sub-zero running may require a cold-weather kit.  A few gallons of gas may be needed to keep that generator running too, depending on your power needs.   

Fishing

Most modern houses come equipped with Catch-Covers, but you’ll need to purchase the hole-sleeves that form the connection between that open area in the floor and the ice-sheet itself.  Dedicated rattle reels for every hole are nice, but so are rod holders.  These days, you don’t have to choose as there are several aftermarket options that allow you to mount a simple receiver disk to a wall, then slip in and out a rattle reel or rod holder of your choice.

Of course you’ll need tackle, rod and reel combinations, and ice electronics.  Remember that electronics need a power source, so bring chargers, and also RCA or HDMI cable(s) to connect your underwater camera to the TV.  Many houses these days come with pre-wired in-wall connections for this.  Along those same lines, think about aeration of your bait cooler, and how you will both store and use bait for your stay. 


The Best of the Rest

Depending on your wheelhouse, the rest of the list is not meant to be exhaustive or full of “must-haves.”  It’s simply some ideas to get your mind headed in the right direction as you plan. 

·         Cooking – Dedicated pots, pans, dishes, silverware, seasonings, pizza pan, tinfoil, coffee pot, toaster, fillet knife, and cutting boards

·         Safety – Carbon-monoxide/smoke-detector, first aid kid, indoor/outdoor thermometer, and a ladder for bunks

·         Organization – storage baskets that fit in specific drawers and shelves, key ring hanger by the door, coat hooks for hanging items everywhere, and stackable totes for the bathroom area

·         Clean-up – Paper towel-holder, towel bar, toilet paper holder, area rugs, and a broom/dust pan with door clamp or holder for storage

·         Fun – Playing cards, board games, and movies

·         “Hacks” – Squeegee for cleaning floors after drilling holes, non-glazed ceramic tiles to line the inside bottom of the oven to prevent burning, 2” memory foam sleeping pads for extra comfort, corner shelves to make use of nooks and crannies especially near sleeping areas, and ceiling storage helpers to hold anything flat or low-profile like rulers, rods, etc.

Of course, with necessity being the mother of all invention, you could always just head out fishing with a notepad and pen to document what you’d want and when you’d want it.  Hopefully, this is a great head-start and you can refine to your own personal tastes from here.