Ice Sonar FAQs for Beginners AND Experts

Ice Sonar FAQs

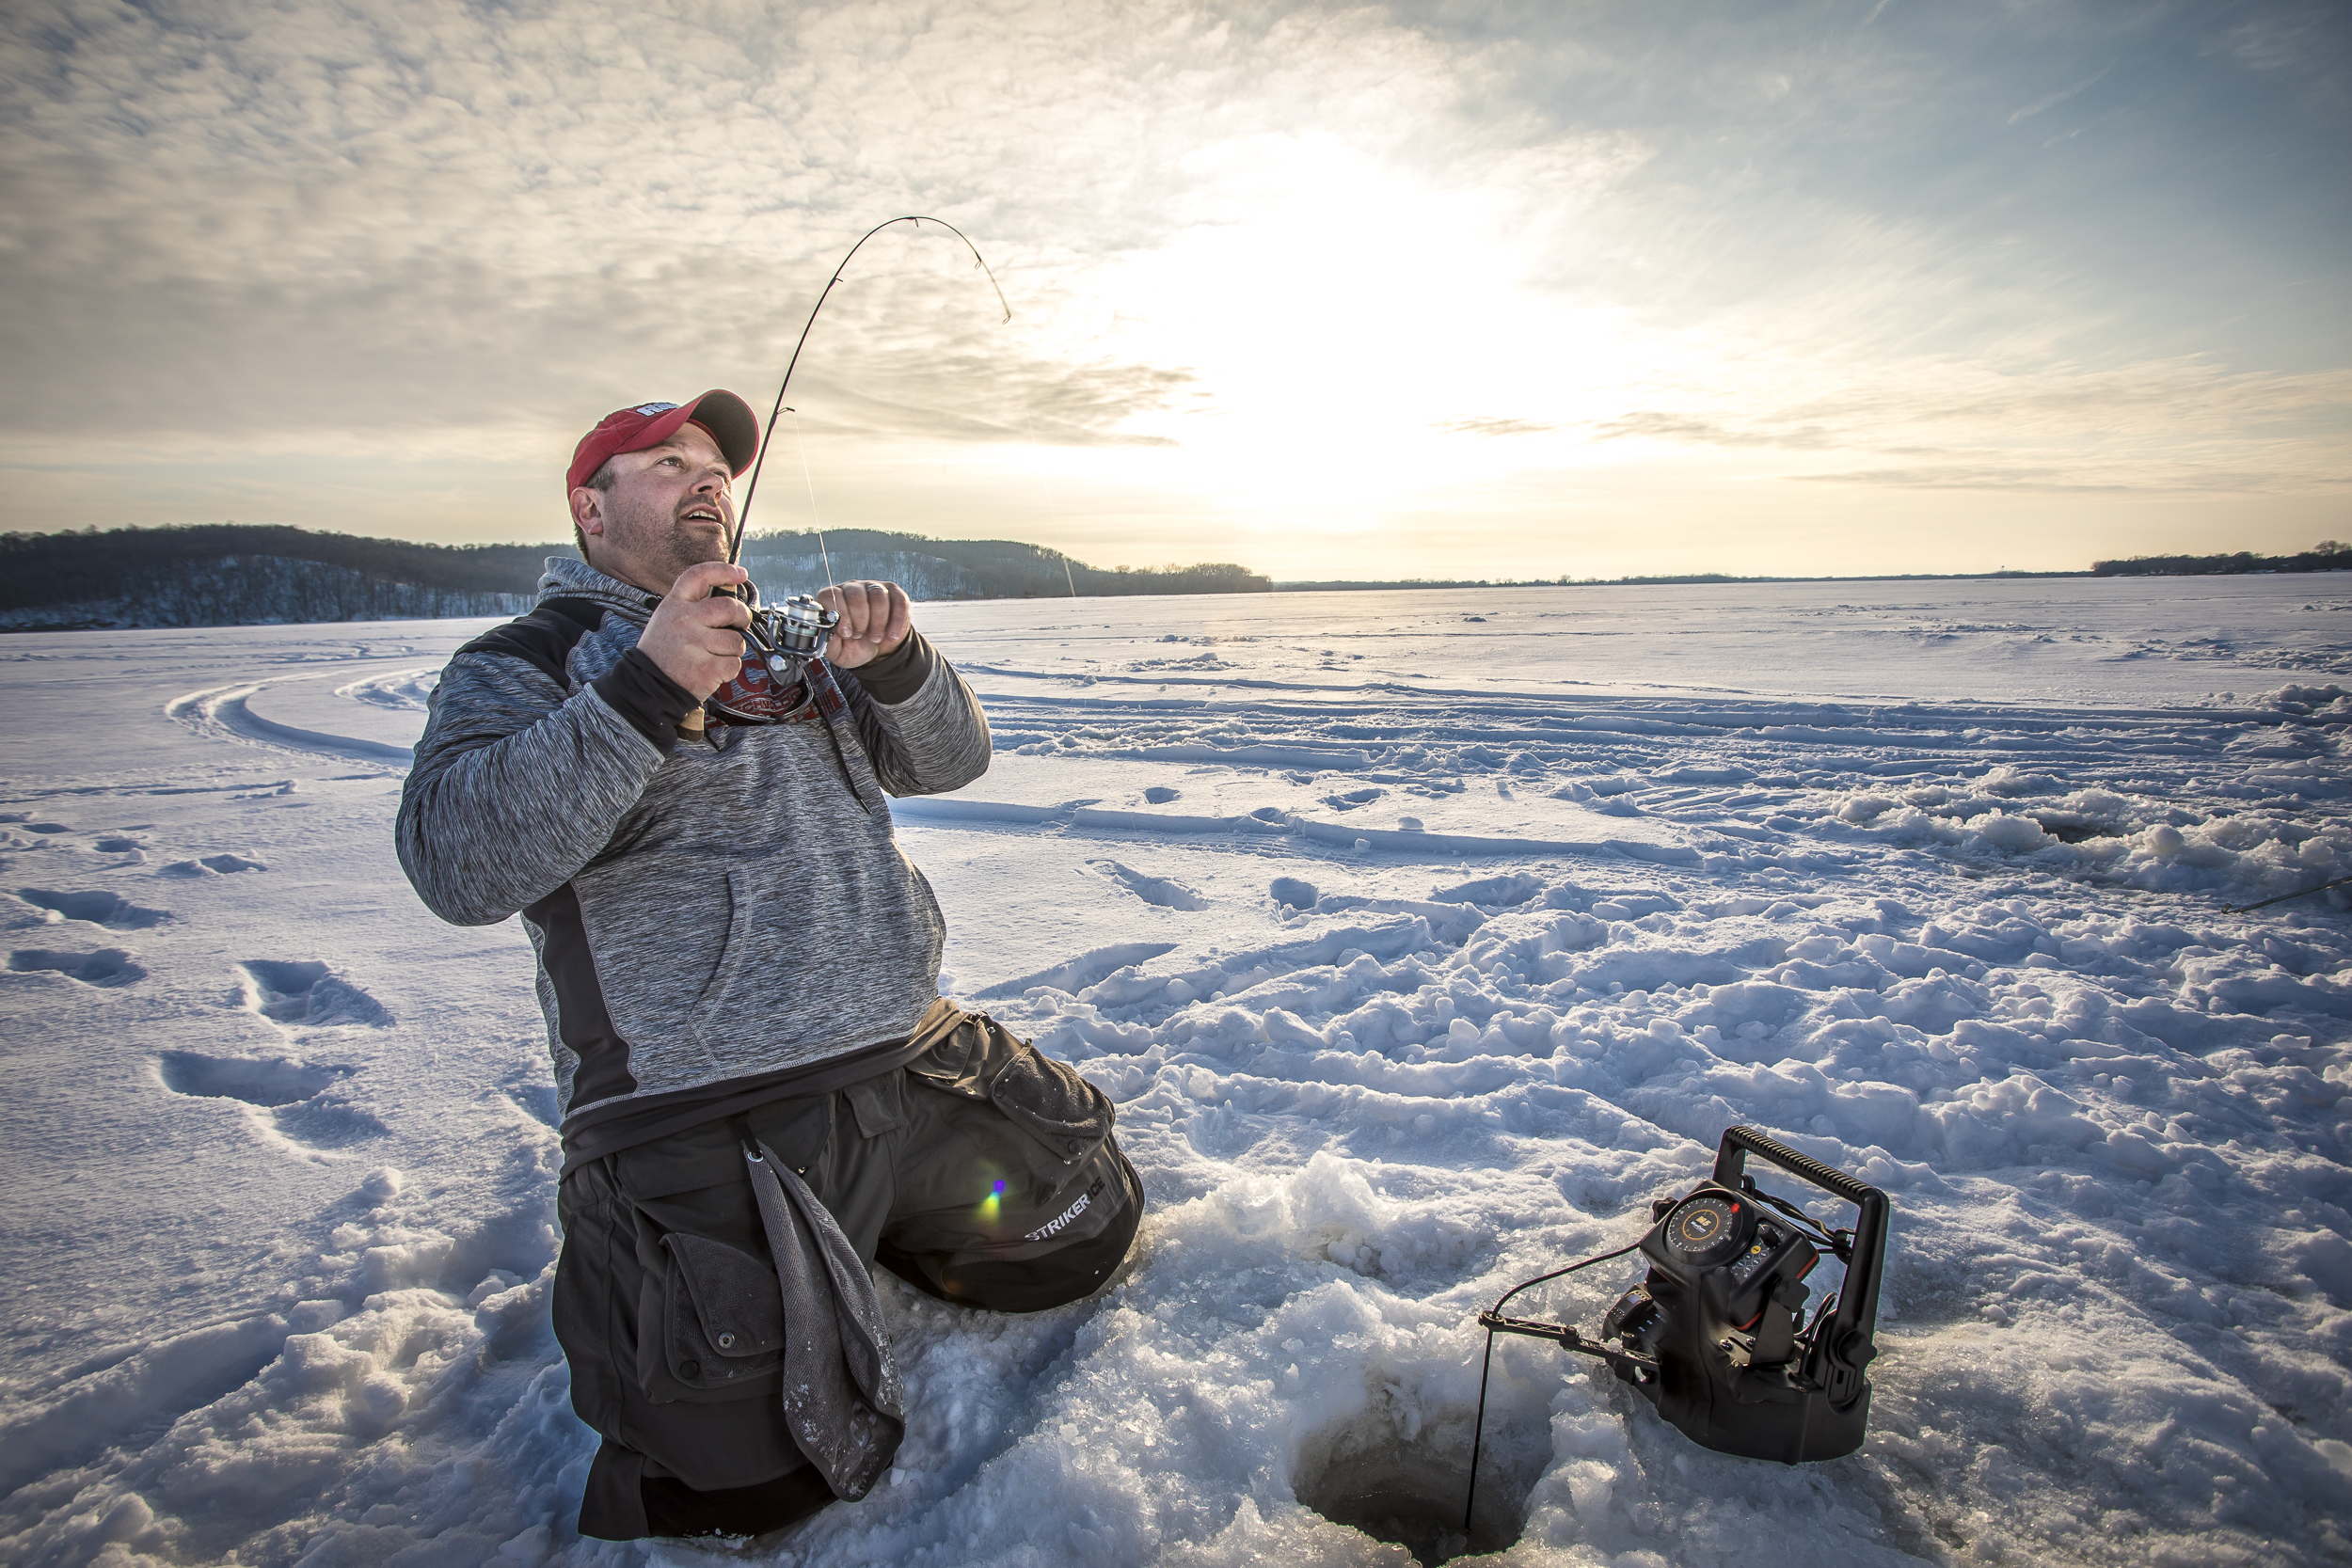
Think you know your ice electronics? Even if you're a seasoned veteran of the sonar world, here are some bits of advice that can help! - Photo Credit - Ben Larson - In-Depth Media Productions

Think you know your ice electronics? Even if you're a seasoned veteran of the sonar world, here are some bits of advice that can help! - Photo Credit - Ben Larson - In-Depth Media Productions

Every year, a new set of anglers both young and old, learn to use ice fishing sonar or flashers for the first time.  That said, I encounter many anglers on the ice each year that still have their ice sonar on default factory settings from when they bought the unit 10 years ago.  Whether you’re brand new to the game, or it’s old-hat, here are some answers to age old questions and some new ones to keep it interesting.

How far down should I drop my transducer? - Conventional wisdom has it that for the best reading, you should put the bottom of your transducer just below the ice in the center of the hole.  This ensures that your jig falls into the conic beam (cone angle) that forms at the transducer and fans out radially in expanding width the deeper you go.  Practically speaking however, you want your ducer off to one side of the hole, and a bit up into the hole while still maintaining a clear reading.  Too far below the bottom of the ice and centered in the hole, you’re asking a fish to tangle in the transducer cord.   

How deep is it?  While most people really want to know at what depth they’re fishing, rarely does it matter.  This is because now with a flasher, all of your depths will be relative anyway.  You’ll see your bait and its location in relation to the bottom.  Move to shallower and deeper water, your frame of reference will still be scaled by your bait and its location to the bottom and possibly fish. 

Why don’t I see my jig?  There can be any number of reasons, from improper depth range, to low gain setting, to the transducer being too far to one side of the hole and not pointed straight down.     

How high should I turn my gain or sensitivity?  The rule of thumb here is to turn it up and down, until you find the point where your jig just barely appears as a solid, crisp target, threatening to disappear.  Too high and you’re picking up unwanted signals from the rest of the water column.  Too low, and you can’t see your jig in relation to the fish that are after it.     

Why don’t I see my jig until I’m a few feet below the transducer?  Directly below the transducer represents the smallest portion of the cone angle, specifically, the tip of the cone.  For you to achieve a reading here, you’d need to place it directly inside of this small area, and rarely to we drop it directly below the ‘ducer.  The further below the transducer you are, the more likely your bait is to be within the cone angle.

Why can I drop my bait “below” the bottom?   To better understand sonar, you need to mentally grasp the footprint of your sonar cone, right where it makes contact with bottom.  We all know that the lake bottom isn’t flat as a pancake, so it stands to reason that one edge of your cone angle may be sounding at 15 feet, while the other edge may be in 18 feet of water.  The steeper the break (tighter the contours) you’re fishing, the more accentuated this effect is.  The return you see on your screen shows the shallowest portion of the cone, meaning that you can appear to drop your bait below bottom.  One of the best ways to counter this effect is to switch to a narrower beam or cone angle when fishing steep slopes.  You can also zoom into bottom if that’s the primary zone you’re fishing, giving you a better view of that specific area. 

When should I use zoom? -  As far as I’m concerned, that zoom button should be locked in the “on” position for most angling situations.  With digital sonar technology, zoom means more than a magnifying glass on the strike zone, it actually enhances the ability of the sonar engine to send, receive, and display minute differences in targets.  It’s the detail you can see when a gill flares its fins before a strike, when picking out sizes of crappies suspended down 20 feet in 50 feet of water, and when fishing belly-to-bottom walleyes that just barely flicker to reveal their presence at the outside edge of the cone angle.  Get used to running your sonar in the zoom mode no matter what depth you’re fishing and for what species.   

How do I get “better” with my ice sonar? – While practice makes perfect, make sure to practice with a purpose.  If you have access to an underwater camera, the very best thing you can do is to study your lure and a fish’s reaction to it both on the camera and sonar simultaneously.  While it is becoming increasingly easier to tote lightweight and portable cameras around ice, your sonar becomes a much more efficient tool when you realize what subtle movements your bait and the fish that are relating to it can mean.  Simple concepts like the swing of your jigging stroke become much more apparent when you can translate the real view (camera) to a representation of it (sonar).  In deep water, while your target appears to move a very small amount on sonar, your pull may be an actual 3 feet. 

Your ice sonar is a great tool to help make you a better angler, but only if you take the time to learn how to use it properly.  We can pound a nail with nearly all sides of a hammer, but one way works markedly better than the others.  

Wandering Walleyes

Photo Credit - Ben Larson - In Depth Media ProductionsFeatured - Marcum RT-9 Sonar/Camera/GPS Combo

Photo Credit - Ben Larson - In Depth Media Productions

Featured - Marcum RT-9 Sonar/Camera/GPS Combo

Most of us who fish walleyes today don’t remember Buck Perry’s Spoonplug or structure fishing instruction, myself included.  Though it was before my time, I, like most anglers in my generation definitely came to appreciate the teachings and technology to follow.  The idea that 80% of the fish live in 20% of the water gave way to detailed contour maps and eventually GPS/Sonar units that brought us there, along with a bevy of baits and techniques that helped us fish it more effectively.  That said, especially for ice anglers there are many esteemed walleye factories that “Buck” that trend, with broad basin areas and walleyes scattered and stretched to the horizon.  Famed fisheries like Upper Red Lake, Lake of the Woods, and Winnipeg simply don’t align with our structure specific view of finding ‘eyes, at least in the traditional sense.  Here’s how to track down and catch those fish that roam more than they remain.

My first trip to Upper Red Lake was a confusing one.  We were after crappies, but no matter where we drilled and how we fished, there were far more walleyes to be found.  Thousands of anglers were all over the crappie boom that resulted from an empty biological niche the heavily overfished walleye population had left.  However, by the time I had gotten there, the walleyes were doing quite well, and though they were to be immediately released for some years to come, those fish were coming on strong.  Hole after hole, move after move, walleye, not crappies came to the jig.  It got to the point where we became far more efficient at the walleye game, and began to take note of some of the finer points that were working well. 

First, we’re talking about fish that are truly spread out over a vast area.  Just as you’d cover ground in a boat and troll across the wide open expanse, so too we drove and drilled, covering areas in a quarter mile grid.  Every few hundred yards we’d spread out and drill, catch what lived below those holes, and move on, drilling and fishing without rest unless multiple fish per hole started to come in shorter bursts.  That’s part of the key to fishing basin areas in general, don’t camp out unless you’ve found schools of fish and the all-important bait they’re chasing.

Another key is paying attention to small details and differences from location to location.  Remember that these areas are generally as flat as a pancake, and boring below water as a desert is above.  Fish are spread across a relatively equal depth range for miles and miles in all directions, making tiny differences in substrate and bottom depth of great importance.  On many occasions I’ve found broad areas or swaths that for whatever reason seem to be better than the surrounding area.  Often, with enough underwater camera work or later in open water with the boat can we crack the code.

One such time was on Lake Mille Lacs, which is known for its varying structural components that range from rock and gravel, to sand and mud with all kinds of shapes and sizes to the many humps, saddles, and piles that line its lake bottom.  Still, even here, we were on a basin perch and walleye bite over mud in an area that stretched literally a mile or more.  All of it looked the same on the map, but a summer recon trip told the story that has this spot being great even today.  In the middle of the basin, but in direct line with an underwater rock and gravel point, is an area with sand lenses.  These small pockets and lines of sand are interspersed throughout the mud, and for some reason this patchwork of differing substrate seems to hold far more invertebrates than many parts of the lake.  I couldn’t see it without looking at bottom hardness on my open-water sonar, but marked the area well and returned in the winter.     

Simple mobility alone isn’t enough to keep the bite going however.  I’m convinced that especially in a generally plain area where fish are used to roving about for food, you need to call fish in to your setup.  Basin walleyes are very used to covering territory, as they’re not relying on structural elements and the biological activity that’s perpetually present there to constantly bring them food.  They have to work for it, they have to find it themselves.  That makes aggressive jigging patterns with search baits like Slab Raps, Rippin' Raps, or other noisy lures ultra-important.  In basin situations when you’re both covering ice, and you expect the wandering walleyes to cover it too, there are few baits too loud and proud.  Rattling spoons and baits in bright colors are great here, even when they fail to elicit a strike.  While it’s difficult to stay mobile with live bait, sometimes you have to fish two holes at a time, calling them with the dinner bell bait, and catching them on a plain hook with a free-swimming minnow below a bobber.  When the bite is like this, I’ve learned the hard way to never argue with the fish, you’ll never win.

Now that you’re an aggressive ice-pounder that fishes fast, when is enough, enough?  How many holes must you punch, and how often must you move?  I let the fish decide that as I drill my way across the ice-scape.  If walleyes are only being caught when you mark one, drop on it, and catch it, you’ll find a direct correlation between the number of walleyes you catch to the numbers of holes you drill.  On days like these, which is so often the case, fish need to be drilled on top of, and directly fished.  Keep moving and moving until you’re either too tired, or have ceased to be angry with the walleyes.  On days where you’re calling in fish from a distance, or there are active pods of fish chasing bait, you’re much better off making small moves directly adjacent to where you’re already being successful.  The quarter mile hops aren’t required unless that area is dead.  Rather, spread out radially away from the last point of activity and be ready to saddle up and re-drill should you or a friend find them again. 

This kind of fishing is fun and rewarding, with your effort often being the primary obstacle to the number of fish you’ll catch that day.  Pay attention to the details, but don’t be afraid to keep moving should the grass prove greener, or ice be whiter just a short drill away.   

The Case for Custom Ice Rods

St.Croix232-1619.jpg

Like most of us, my first ice rod was a jiggle stick.  I’d set the hook on suspended crappies, learning at a very young age that the tangled line resultant from hand-over-hand fighting was easily avoided if we’d just turn around and run.  While looking back over my shoulder, I knew I could stop when we saw those panfish come flying up and out of the hole.

Reeling them in eventually became more practical, and fun, such that a new ice rod became a necessity.  It needed a reel seat, and a few guides, but beyond that I was just happy to get a hand-me-down from my grandpa.  Rug-beater that it was, I caught a pile of gills with that thing.  I preferred to fish out on the open ice and feel for bites rather than use a bobber.  Which means that while fishing for panfish with a rod better suited for pike, I missed as many as I caught.

Such is the case for many anglers today that fish ill-equipped rods for species they were never intended to target.  As my own rod-buying habits brought me up the chain, both in terms of cost and in features, I came to know what I liked, but more importantly, which features suited the way I fished.

Think of a custom rod as just that, a tool that can be infinitely customized to the species and situations you fish.  Just like you wouldn’t use a screwdriver to pound a nail, it makes sense to fit the tool to the direct application.  For most people, custom rods sound nice, but their price tag prevents them from owning one, or owning as many rods as they’d like in the full arsenal.  Much in the same way a fine guitar helps you play better because you want to play more, or a fitted-shotgun makes you shoot straighter because it’s specifically designed for your person, custom rods when fished correctly will yield more fish. 

Due to long lead times however, and the fact that so many of today’s custom ice rods are simply built to a few lengths, powers, and actions, the word “custom” today more appropriately means “customized.” St. Croix has been doing technique specific rods customized for the way certain baits fish for about anything that swims going on many decades now.

Maybe you’re unsure which action, length, shape, and model to get?  Let me go through a “rod-building” session with you for my own style of fishing a particular species to give an example.  I’ll focus on St. Croix Custom Ice (CCI), as they offer a wide variety of modifications that make the most sense for the fishing I do.  Perhaps I’m interested in finding a good walleye rod.  The first thing I need to do is answer a few questions about the way I fish for ‘eyes.  Let’s say that I primarily fish for walleyes in less than 20 feet of water, out on the open ice, using a good variety of 1/16 oz. to 1/8 oz. jigs and spoons.  I’m 5’10”, am not much of a pistol gripper, but I do prefer to put a finger on the rod-blank for bite detection.  For those reasons above, I’d be looking for a medium to medium light blank with a fast action taper, in 32”-36”es, with recoil or other ice-resistant guides, offering a split or smaller grip.  The St. Croix CCI Perch/Eye Spoon (CC28MLF) with those specs fits the bill perfectly.

Break that information down, and you start to see how a custom rod is a precise tool for exact scenarios.  While standing on the ice, 36” lengths for my height are perfect to jig low to the sheet, preventing wind from hampering bite detection, and giving me plenty of length to absorb wide head-shakes from bigger fish.  If fishing primarily in a shelter however, I’d go no longer than a 32” rod to prevent catching the tip on canvas during a hookset.  The medium light fast action fishes 1/8 oz. spoons primarily well, loading up the rod enough to create great feel without overloading the blank.  A split grip seems more fancy than functional, but it allows me to grip the rod further forward and get a finger on the blank without it being too awkward.  Quite simply, it fits better in my hand.  The recoil guides allow me to fish in frigid conditions and clear the few ice droplets that form with a small flick. 

At this point you might think that I’ve taken this too far.  Surely you don’t need an artisanal rod just to catch a few fish?  To that I’d answer that there are some great semi-custom or higher end ice rods on the market that are mass produced, yet still made in enough configurations to satisfy most anglers in the majority of the ice situations they face.  That said, I can put a golf ball on the green from a hundred yards with my 3 wood, yet I can do so more consistently with a nine iron and some backspin.  It’s less about spending up to a dollar amount, and more about getting the right tool for the job. 

Some things to think about in analyzing your fishing include the following: depth, lure weight, species, sitting/standing/kneeling, inside shelter or outside, how you grip your ice rod, colors, and many others.  Of course, sifting through all of these variables and coming up with the ultimate combination for any one situation is also part of the fun.  Rod manufacturers are eager to give suggestions too, as more than likely if you’re trying to dream it, they’ve probably already built a similar one for another customer.  Keep it fun and start small.  Chances are, if you research and choose well, you’ll look to add more to the rod box in coming years and will know better what to look for with a bit of experience.  No matter which one you choose, give some honest thought to the above variables and you can’t go wrong.   

Why Your Next Ice Suit Should Float

My first ice trip to Lake Erie years back was a real eye-opener.  As masses of anglers converged on the shoreline west of Sandusky, Ohio, many looked the part of a search and rescue team more than fishermen.  Equipped with survival suits, as in the kind you’re used to seeing the Coast Guard wear, these hard-water fanatics looked as if they were very prepared to go in the drink.  As they deployed in the morning hours on top of ATVs, snowmobiles, and surprisingly air-boats, you could tell that for a good number of them, there was a clear concern and plan for thin ice and the safety precautions that go with it.

Fast forward to today, where a pair of brown work bibs have given way to specific ice apparel designed with anglers in mind.  Pockets are ergonomically located, big enough to hold small tackle-boxes, and vented to drain water in the event of a plunge through.  Knees and rear-end are padded with neoprene to allow anglers who kneel on the ice even more comfort.  Fabric is reflective so you may be seen on a dark night, and is ultra-durable for years and years of use.  Not to mention, several of today’s suits like Striker Ice Brands, have a flotation layer built-in. 

Thinking back to first ice forays, probably one of the most dangerous situations I’ve been in was Duluth Harbor on Lake Superior.  Ice cutters roll through to keep the harbor open for shipping, which results in a continual ebb and flow of ice-chunks, open water, and ultimately safe-ice that is broken and refrozen on a daily basis.  The scariest of propositions is “trap-door” ice, which is a large chunk that floats off the ice sheet, then wanders back and partially locks up.  Step on the end of one, and you drop below the waterline, as the other end of the chunk rotates back over the top of you, quite literally sealing your fate.

While heading out on the harbor in the pre-dawn darkness, an unseasonable rain left the ice jet-black, and wet, thus hiding any treacherous ice spots.  Everything looked the same.  Even with headlamps and ice chisels, one of our companions pushed ahead and literally walked right into open water; a six-foot gap where ice sheets had separated.  Grant was fortunate enough to kick a few times and pull himself up on the far sheet, only to have to jump back into the water to get back on the side we were on.  As he pushed off the far ice sheet with his heels, Grant dove forward, plunging the picks we threw him deep into the ice on our side of the crack.  Our day was done, as too much had already been risked, though with some flotation, I would’ve been much less concerned for our friend.   

From experience I can tell you that manufacturer claims stand up to actual lake and pool testing by many individuals, large and small.  Thankfully, I’ve not been one of them, though I’ve worn suits from at least three of the floating suit companies on the market.  The best part?  I didn’t know that what I was wearing had flotation.  The suit wore exactly as any ice-designed bibs and jacket I’ve worn before, all for about the same price as other suits in their class. 

Another benefit that’s often overlooked is during mid-winter, when ice conditions are usually at their most-safe.  The flotation that’s used in my Striker Predator Bibs and Jacket is exceptionally wind-proof, waterproof, and warm.  This is most readily apparent when temps and wind-chill are at their worst, or when riding to and from your destination on a snowmobile or ATV.  With all of the choices presented for today’s ice angler, and the improvements, comfort, and function built-in, there’s no good reason to not look at getting one which also floats if aiming to purchase new.

One thing to be clear on however, is that floating suits are not provided for the idea of pushing the boundaries of safe ice.  Rest assured, if a break-through occurs you’re covered, but these suits are for peace of mind, not careless or reckless abandonment of reason when it comes to staying on top of hard-water.  No ice is ever fully safe, and while the suit may float you, it can’t ensure you won’t hit your head or cut yourself on an auger blade going down.  These are real concerns that should still cause you to bear caution as the first line of defense against unsafe ice.  The hidden floating layer is simply in the background to bail you out should the unthinkable happen.  

Search Baits For Ice

Search Baits for Ice

Search baits like the Rapala Slab Rap are a staple in the author's approach at fishing fast first, with max attraction and vibration being key components to getting on fish fast. Photo Credit - Ben Larson - In-Depth Media Productions

Search baits like the Rapala Slab Rap are a staple in the author's approach at fishing fast first, with max attraction and vibration being key components to getting on fish fast. Photo Credit - Ben Larson - In-Depth Media Productions

The summer of 2000 was my formative attempt at higher education in the fishing world.  I was a natural resources tech and map-maker, working inside of Yellowstone National Park by day, and roaming the many nearby streams, rivers, lakes, and ponds by evening, both in search of trout and some extra bucks.  I took occasional overflow guide trips from a buddy who taught me most of what I know about the subject, and also helped shape some fish-finding strategies for wherever I’ve fished across the continent, ice or open water.  It was a #14 coachmen fly that convinced me on most days I could scour the local streams for a few takers, then examine stomach contents to unlock secrets to the bite.  As an attractor pattern, the Royal Coachmen was on many days the best fly, even when more natural offerings and a persistent hatch were present.  Though it was on trout streams throughout Wyoming and Montana, search baits and a specific method to using them would become forever woven into my fishing approaches across all waters.

I classify search baits loosely, but include any lure that dives quickly, gives off good vibration, and is visually appealing from distance.  The idea in using them is to cover water, both above ice and below.  While you’re drilling up new icy real-estate and covering ground, the bait is actively calling fish from far outside the cone-angle of your sonar, putting the offering in more fish’s faces which leads to more bites.  From the boat, your casts and retrieve constantly shop your jig to new fish.  On ice, drilling holes and fishing aggressively with search baits help you cover the same water.

Using flashy baits and fishing fast are no innovation among anglers, but on ice there seems to be a growing apathy towards the approach.  As drop-down wheelhouses become more prevalent across the ice-scape, and more comfortable shelters are the norm rather than the exception, so too goes our interest in drilling up the hard-water.  Don’t get me wrong, I’m a fan of both styles of fishing, but it seems that a generation bred on Dave Genz’s style of mobility has given way to some more stationary means of fishing.  As it turns out, no matter what method you prefer, search baits for ice make equal sense for the hole hopper or permanent ice dweller.

For ice, we’re lucky in that our environment is far more controlled.  There’s no motion or movement above ice in the form of a rocking boat or wavy surface, and fishing streams, rivers, or other moving waters is far less common.  In many states, we’re also lucky to be able to use multiple lines, such that search baits don’t actually need to catch the fish, they just need to draw them in.

For fishing inside hard-houses, I prefer an active set.  For all the rattle reels, deadsticks, or bobber rods, there’s usually at least one person trying to ring the dinner bell.  Rattling spoons, blade baits, lipless crankbaits with rattles, Jigging Raps, and even large spoons ripped aggressively are the order of the day.  Excite the bite by drawing in fish of all shapes and sizes, hoping that even if they’re not interested in what you’re jigging, they’ll eat one of the many other offerings throughout the house.

Start higher in the water column than you’d think, giving fish “room” to show up below the bait on your sonar.  If you jig that aggressively in the strike zone, you’ll see far fewer fish on-screen and catch even less.  Once the mere flicker of a mark indicates a fish towards the outside edge of your sonar’s cone angle, your whole approach changes from mass attraction to seductive appeal.  At this point, everything goes in slow-mo, as you try to make a non-finesse bait look more subtle than its design.  Keep others around you aware of what’s going on, provided they’re not going to drop the biggest bait they have and start yo-yo’ing themselves.  Fish that are unwilling to eat a single aggressive offering are typically looking for live-bait, a small jig and plastic combination, or some other smaller and less obtrusive bait.  Bombarding them with more vibration and flash is rarely the answer.   

Out on the open ice, you’re often forced to fish a single rod, and provided fish are active this is usually a good thing.  With first ice being a prime example, you want to cover ice assuming that there are active fish likely biting somewhere.  Whether it be panfish or walleyes, aggressive fish are very catchable with search baits, such that if you’re not seeing fish you need to be moving to find them.  If you’re seeing them and not catching, you may need to fish as a team, dropping other baits once you’ve attracted them to the area.  More often, you can stick with the same search bait but need to slow down your approach even further by pausing more frequently, slowly lifting, or rocking horizontal baits back and forth. 

A rocking motion, when possible for horizontal style lures, usually seals the deal as fish approach but are hesitant.  Think of the No. 2 pencil trick, where you hold it in the middle between thumb and forefinger, waving it up and down until it appears to be made of rubber.  It can be tricky to make your bait do that, but the top training tool available is most definitely a quality underwater camera.  Take some time this season to study different baits on camera, so that you can fish loud and fast to bring them in, then make the same bait come alive with the most enticing slow movements and bait-like twitches.