Ice Fishing's Top 5 Upgrades

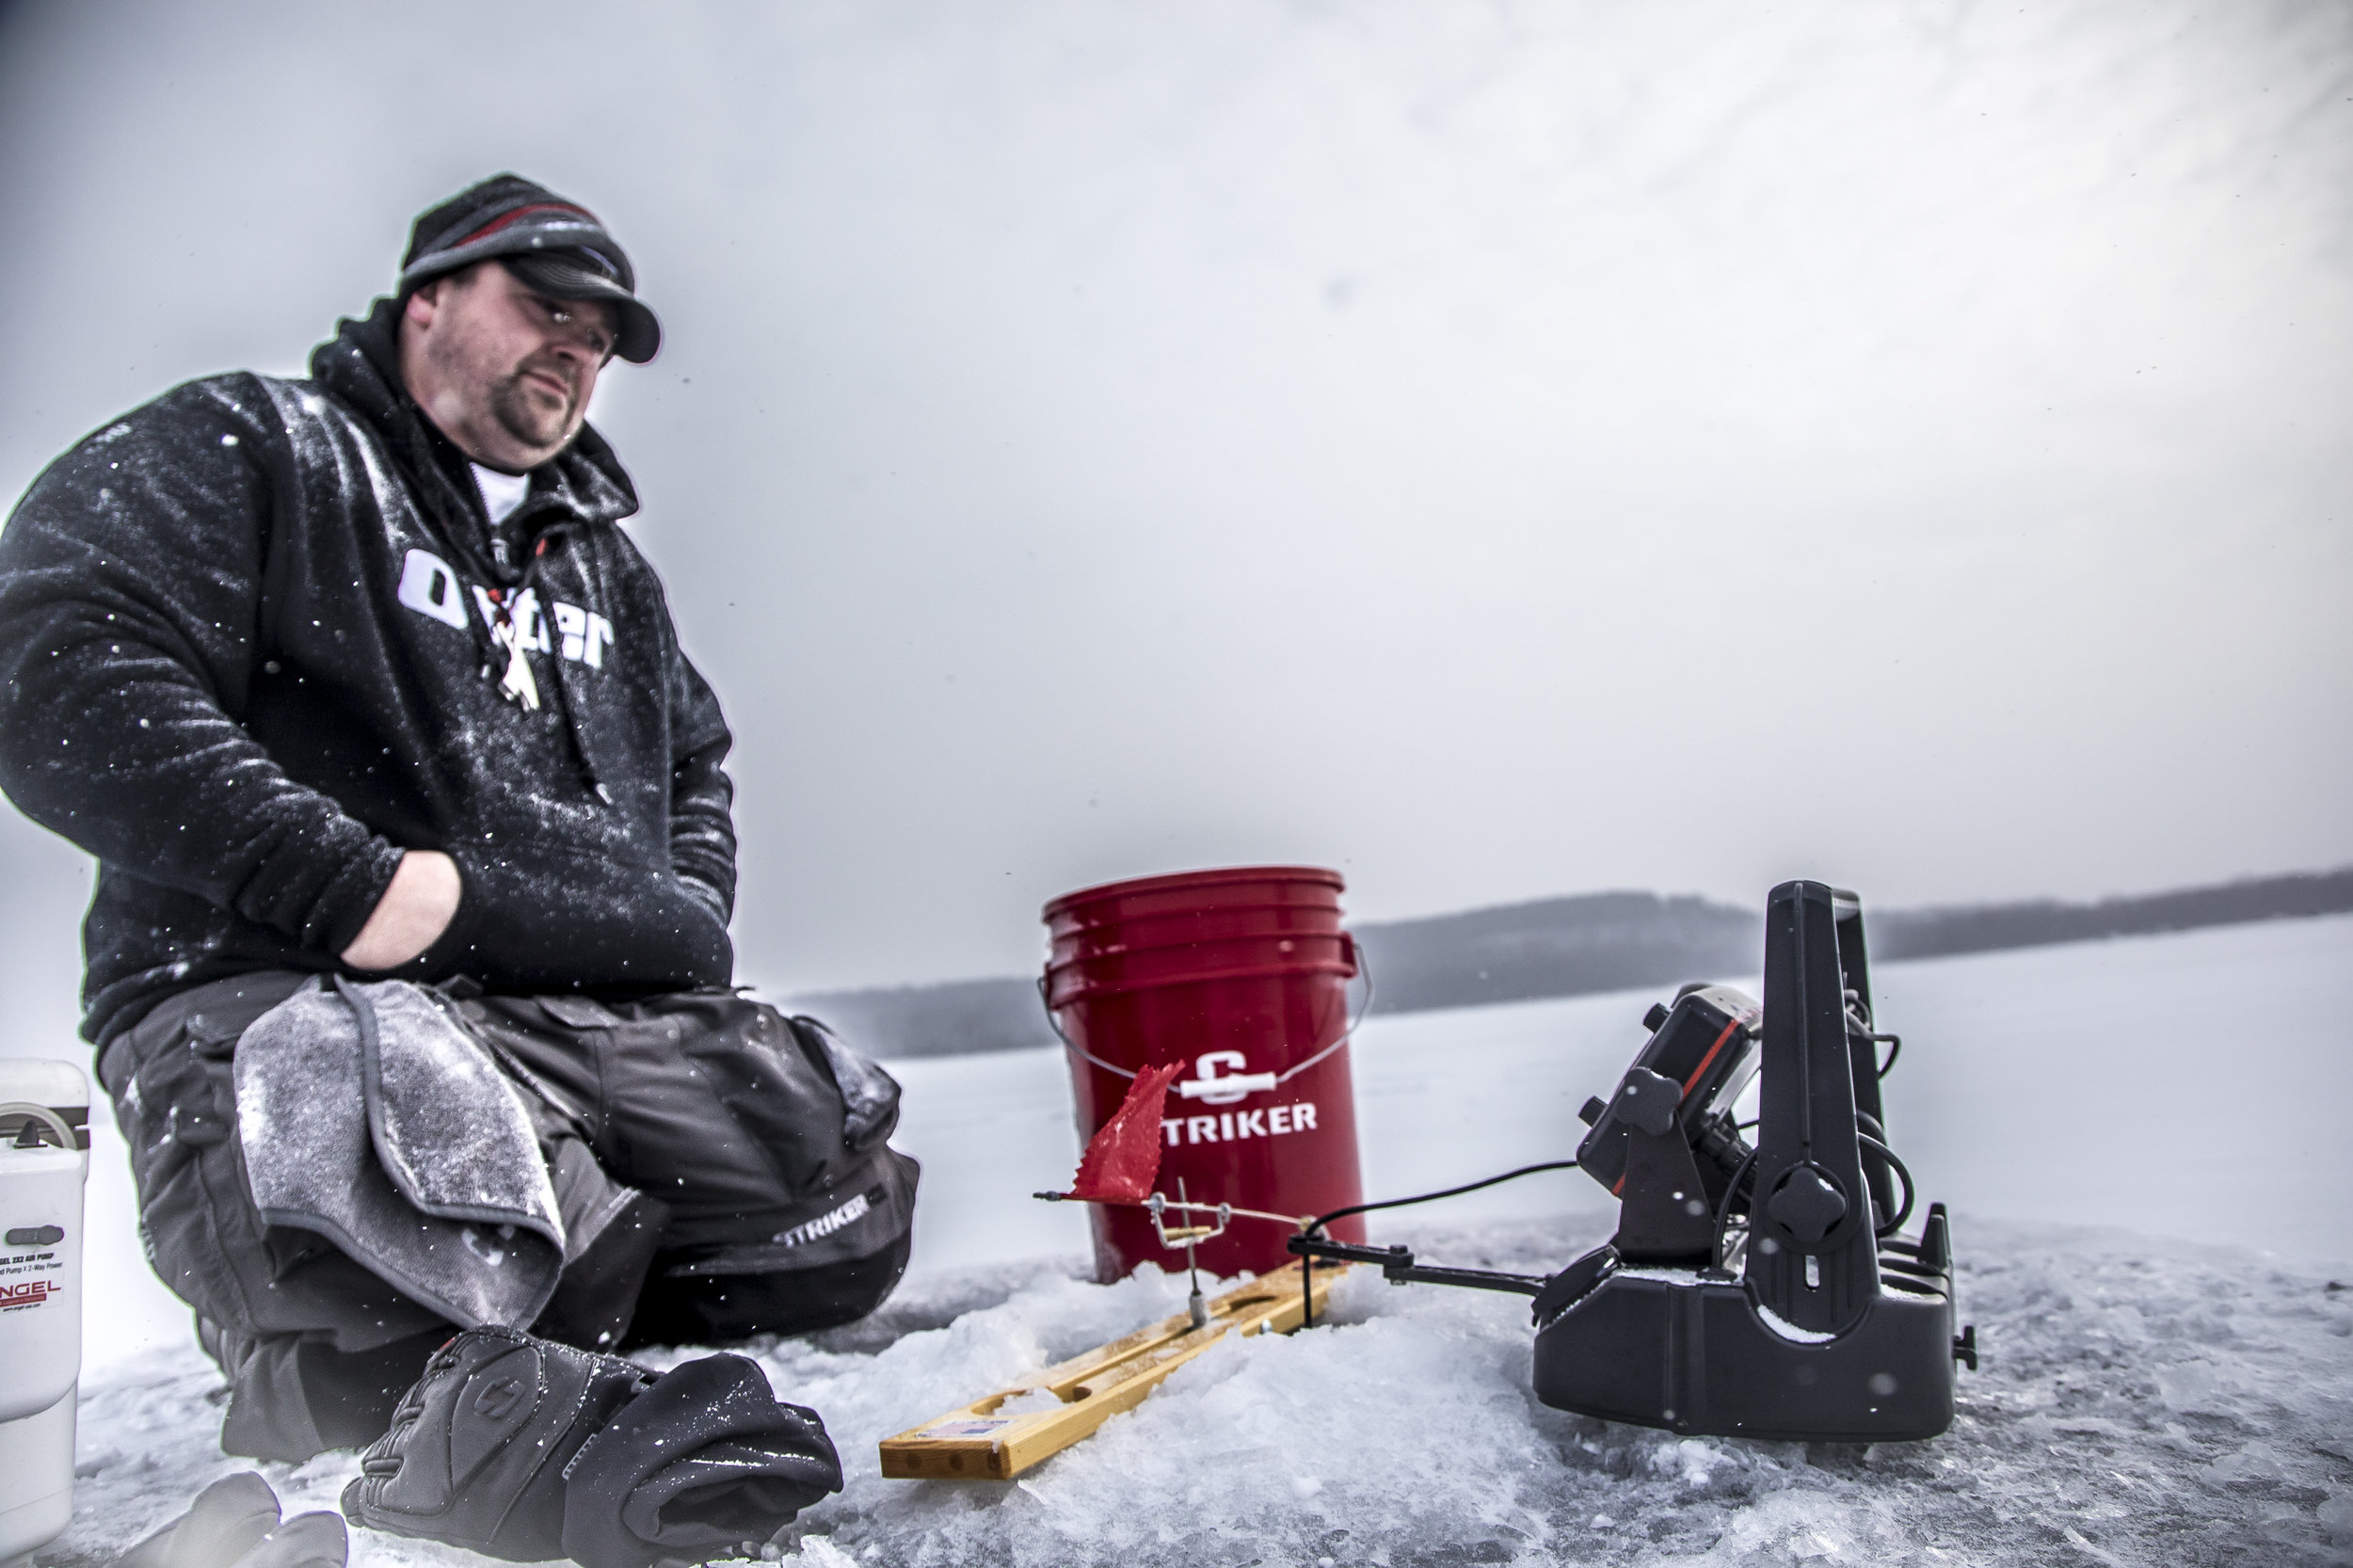
Ice fishing is likely the fastest growing segment in all of sport fishing.  That’s in no small part due to the development in creature comforts that have fundamentally changed the mechanics of the sport.  A five-gallon bucket has turned into any number of portable or permanent structures with a built-in seat.  The massive, exhaust-spewing power augers of old are now odor-free, lightweight electric powerhouses that drill many dozens of holes on a single charge.  Bib overalls and flannel have given way to ice-specific suits that are ergonomically designed for the rigors of the sport. 

Maybe all you’ve added to the arsenal in the past few years is a couple jigs, or maybe you’re coming back into the sport after a hiatus of a few years.  Even if you keep your ear to the ice every season, it's often wise to let first-year products enjoy a few cycles before investing in a dead end.  That said, each of the categories below are tried, tested, and true technologies that I see only advancing rather then retreating. 

Here’s a top-five list of the best categories to upgrade this year if you’ve been reticent to get on the modern ice bandwagon:

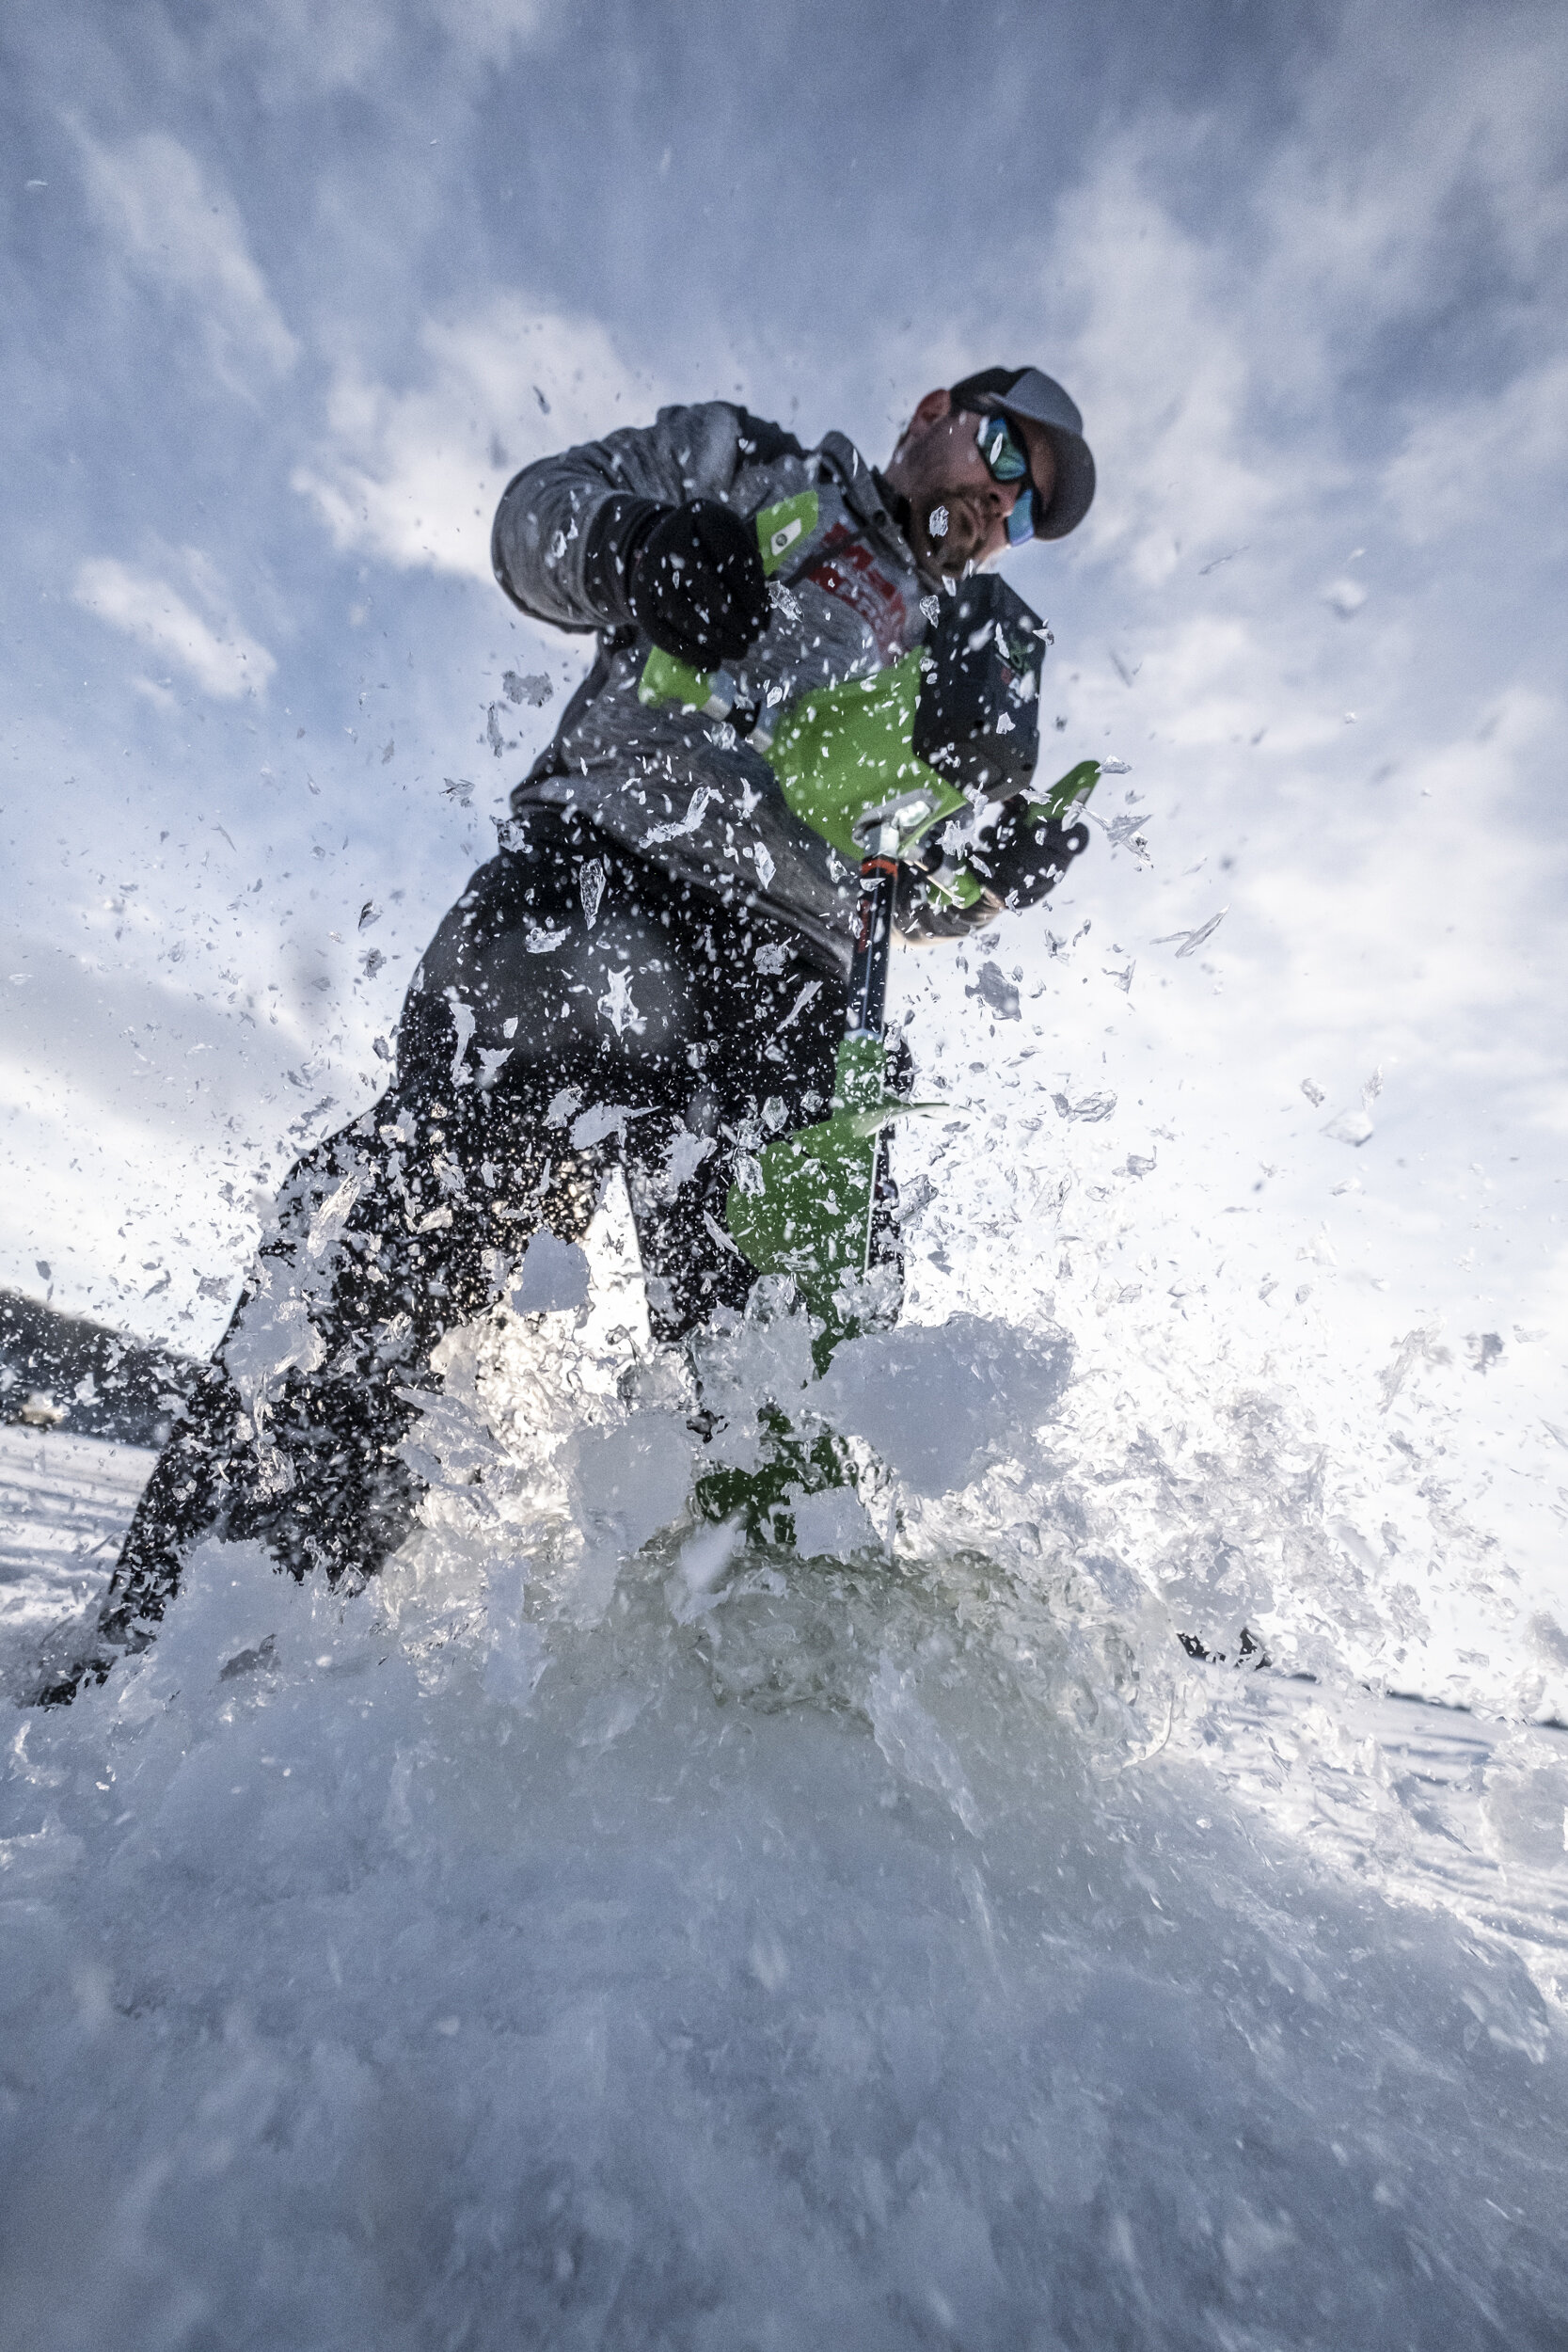
1.        Electric Auger – Today’s electric augers are major contenders in the space.  Unless you’re drilling in extremely thick ice, or hundreds of holes per session, you may likely already own one.  No mixed gas or smoke-filled permanents are another major advantage of the tech.  Add to that, that trend towards lighter-weight options, and you’re no longer looking at 40 pound steel grinders that you have to prime, pull, and maintain a carburetor on.  Click “on,” and flick a switch to drill. I’m running a new electric auger this year that I tried at the end of last season and really liked. Fastest and lightest electric i’ve ever used, and it re-drills old holes and rough ice with ease!.


2.       Custom Ice Rods – Go ahead, live a little.  More importantly, take the species and situation you face most often, and select an appropriate tool for the job.  These days, custom ice rods are expressly made to solve problems on the ice, and give you, the angler, the upper hand.  Whether you fish shallow water for gills, or deep rock lakers, there’s a custom rod for you that will be lighter, more sensitive, and plain catch more fish than any of your other sticks combined.  While they can be expensive, they’re a mere fraction of their open-water counterparts, and worth the money in my opinion. I helped design and develop the Croix Custom Ice Lineup by St. Croix Rods. Check them out here, or read up to find the perfect CCI for you!


3.       Floating Ice Fishing Suit – Whether you tempt the fates with early and late ice excursions or not, talk to 10 ice anglers and each of them will have a different story about ice that should’ve been safe and wasn’t.  For your troubles, you’ll get a bib and jacket combination that holds tackle boxes and bait pucks exactly where you’ll need them, and will have padding in the places an ice angler requires.  Not to mention, with venting technologies and the quality of garments out there, you’ll be comfortable no matter the temperature. I wear the Striker Predator bibs and jacket for safety as much as comfort. For the ultimate in comfort and warmth anywhere, I opt for the Striker Climate bibs and jacket.


4.       Digital/Lithium Sonar Technology – I’m a big fan of the analog units out there, as they’ve stood the test of time and caught gobs of fish doing it.  Still, the advantages of digital sonar can’t be ignored.  Customizable views allow you to set up a screen however you like, while maximizing the real-estate offered for only the fish-catching information that’s interesting to you.  While you’re at it, you should power your electronics with a lithium battery.  All the rage in everything from electric cars to power drills, your electric ice-auger has one because of the incredible long life, weight savings, and cold-weather performance.  Lead acid batteries for fish-finders will likely soon become a thing of the past, as manufacturers are now starting to sell their electronics with lithium power onboard. I run both the Lithium LX-7 for a combination of hole-hopping and stationary fishing, and hole hop almost exclusively with my Lithium-powered - M5L.


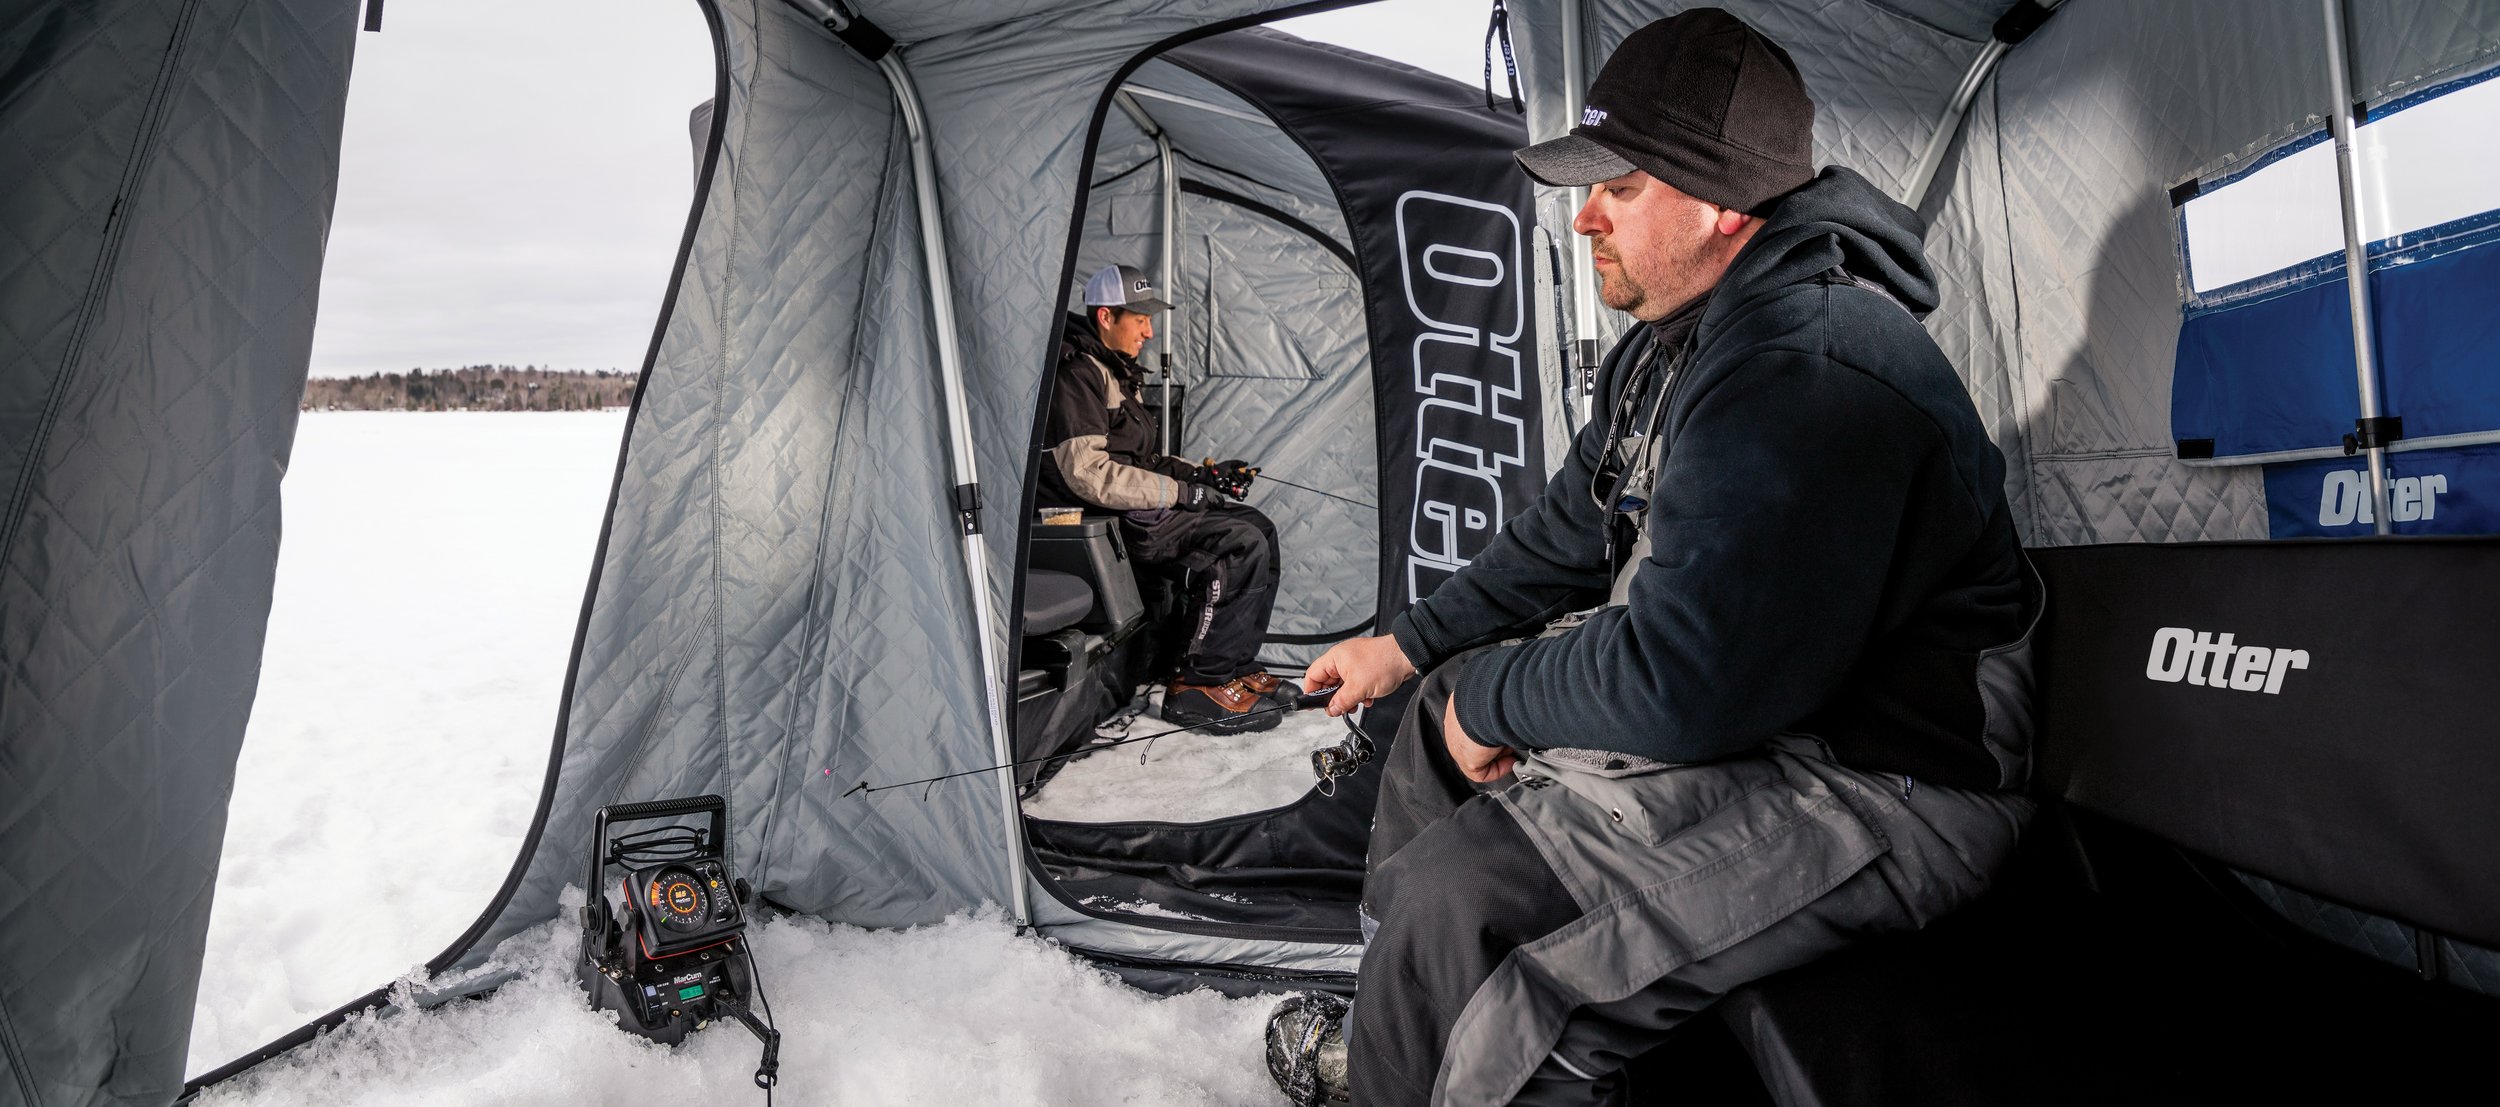
5.       Shelter – No matter what your budget, there’s a great shelter upgrade out there waiting for you.  From fully thermal hub-style portables, all the way to fully decked out wheelhouses, there’s never been more choices on the marketplace than we have right now.  On the upper end, with increased materials costs, borrowing rates, and tariffs, wheelhouses and the like will probably only continue to go up in price so this could be a good year if you were already budgeting for one.  On the other end of the spectrum, you’ve got incredible performance fabrics and thermal insulation that makes hub and flip-style shelters remarkably durable and easy to heat. I run an Otter XT X-Over series and have been really liking the side-entry feature on the X-Over editions. For the hub angler, the XT Lodge Hub has been perfect for my family.

While a part of me loves the nostalgia of frozen days gone by, ice fishing is more enjoyable when you’re warm and comfortable.  Catching fish while doing so has no doubt led countless new people to the sport.        

X-over-Lifestyle2.jpg

The Right Auger for the Job at Hand

Joel0255-9822.jpg

Ice augers these days are undergoing a modern revolution of sorts, with all kinds of “firsts” and “never-before’s.”  Many manufacturers are moving away from gas, favoring lighter and more reliable electric models.  I think that shows confidence in the technology, along with consumer adoption in electric models over previous years.  We’re also seeing a big push for lighter auger flighting materials, namely synthetic resins that shave plenty of pounds from the overall unit, especially when paired with cordless drill drivers.  Had you told me me years ago that people would be using a cordless electric drill to power a plastic flighting for all of their ice holes, and I wouldn’t have believed you. 

All of which makes for some great opportunities that ice anglers will undoubtedly benefit from…eventually.  For this season however, folks looking to take part in that revolution have a lot of choices to consider, perhaps too many if you haven’t been following the recent developments.  In that light, while I think there’s a time and a place for many of the designs on the market, if I was forced to choose an ultimate combo, here’s what I’d come up with.

Dedicated Electric Powerhead and 8” or 10” Flighting

You didn’t expect one auger to do every task did you?  For predator-anglers and wheelhouse junkies, a 10” hole offers a few luxuries.  Slower freeze-up is one of them, but so is turning big fish to the top of the ice.  Of course, a 10” hole swallows up boots…and rods….and really just about anything.  It’s not as effective for roaming the open ice, unless predators are your only game.  In which case, the trade-off is worth it.  For late winter, an extra battery offers peace of mind, and really negates the gas-auger argument for all but the most ardent of hole-poppers.

Speed is a consideration for open-ice hole-popping, but total ease of use may be more important to many anglers, especially those in a wheelhouse.  For that reason, the standard-style blade options (not the curved shaver blades) will perform better at break-through and provide a more comfortable experience.  No binding at the bottom, no hard-jarring as the blades catch at the bottom of the hole.  Also, standard-style flat blades can re-drill old holes with ease, making them the best choice for those who drill in permanent houses.

An 8” option is best for most anglers that roam the open ice and fish small predators to walleyes.  It’s the ultimate in versatility, and sales numbers prove that fact.  Should you ever need replacement blades, it’s far easier to find 8”ers than anything else out there, and that one is based on hard-earned experience scouring baitshops throughout the hinterlands at times.  If you fish in portables, or ice troll the frozen expanses, your 80% auger will be a dedicated electric auger powerhead and 8” flighting.

Why a dedicated powerhead?  In my experience, cordless drill drivers are a great option, but not necessarily for larger bits.  Depending on the drill and flighting combination, I simply find it more comfortable to drill with a larger handled apparatus, and am just fine with 20lbs or so for big lakes, thicker ice, and better fish.  Maybe I’ll change my tune in time, but for now, I’m happy with the cutting experience of a dedicated electric powerhead on these larger bits.

Lightweight Synthetic 6” Flighting

Once we start talking panfish, my opinions change dramatically towards the electric hand-drill units.  Pair up an 18V construction grade cordless to the new synthetic resin flighting systems out there now, and you’ve got an unbeatable lightweight combo that simply shreds ice.  You’ll be easier on your drill unit using a 6” flighting, and for panfish, you really don’t need anything bigger.  I’ve seen a 15” crappie come up a 5” hole; mind you, it reminded me of a cork coming off a bottle of champagne, but a 6” hole in the ice fits just about anything.  That includes most walleyes and certainly all panfish you’re likely to catch in the Midwest. 

The beauty of this system is that you can pair the smaller 6” bit to your dedicated powerhead, or run it with a hand drill, whichever you prefer.  Interchange them at will, and you’ve got the best of both worlds for nearly any species you’re likely to encounter.  Fish light when you can, such that you’re not stuck trying to hole hop backwaters panfish with your 10” house auger, and use the larger option when tackling bigger species. 

Why not one auger to rule them all?  For me it’s about using the right tool for the job.  Sure, I can pound roofing nails with a sledgehammer, but it’ll take me more time and effort.  So often, it’s the panfish species that require extra hole drilling sessions to really pinpoint anyway.  That’s when a flyweight 6” synthetic bit can make it so much easier, and you, much more likely, to get out there and find more fish.  Certainly, if you’re a perch and big water walleye angler roaming for nomadic schools up and down the break, you may opt for an 8” synthetic bit for the same reason.  In that instance, you may want a dedicated electric 10” with an 8” synthetic. 

To each their own.  That said, if you’re chasing multiple species in a variety of waters, using these ultimate configuration guidelines to have a larger dedicated electric auger and flighting combination, with a synthetic version only slightly smaller, will get you punching more holes in more ice.  For me, that’s always meant more success, and in this instance, more comfort and convenience to go along with it.  

Bleeding Fish - How to Make Any Fish Taste Better

20170806_173552.jpg

Over the years, I’ve been shown by other anglers a number of ways to make fish taste better.  Nearly all of them involve drawing blood from the fish by washing, salt, or general care of the catch before ever getting to the filleting stage.  It’s a fascinating topic, as everyone seems to have their own family traditions or guide-tested tactics.  Yet, fish have been a manner of sustenance for tens of thousands of years, so surely there must be some deeper roots to a perpetually interesting subject.    

Years ago now, I caught the tail end of a great cooking show called “Mind of a Chef,” where Chef David Chang toured the famous fish market in Kyoto, Japan, explaining an ancient technique in fish preparation called “Ike Jime.”  It was a more complete version of various methods I’ve been shown, where the fish is quickly brain-killed, its spinal cord is severed under the gills, and the tail portion is cut open to insert a wire down inside the length of the spine.  The seemingly gruesome process is done quickly and humanely, to first quickly dispatch the fish and stop brain signals from tensing the muscles moving forward, then bleed the gill portions of the fish, and finally, to detach nerve endings that still may be sending signals from the brain and through the nervous system.  The carcass is then put in an ice-water slurry to bleed out, as the fish naturally expels its blood. 

It’s a technique that’s been deployed successfully for many hundreds and perhaps thousands of years, on an island that treasures its fish.  It’s quickly deployed (think seconds), and is followed precisely to provide the world with sushi and sashimi-grade fish of various species.  While we may not be as interested in performing the full process, or even require care of this caliber to have a simple fish-fry, there’s a great deal of scientific merit to the process itself.  Namely in the taste.

Food science research has proven in tasting and physical labs that this method of fish care simply produces a better tasting fillet, again, primarily because of quick blood removal.  Blood serves as a nutrient rich food source for bacterial growth, so when removed, there’s less chance of off-putting tastes or unsafe bacterial growth.  Additionally, Ike Jime more humanely kills fish and its nervous system more quickly, delaying the onset and amount of rigor mortis.  That small difference leads to firmer, better textured fillets which also contribute to taste improvement.  It’s one of the reasons that the same fish caught in many oceans around the world never make sushi-grade. Most of the fish markets over there keep the fish alive and swimming, where Ike Jime is practiced just before presenting to sell. When cooked same-day, it apparently leads to the optimal timing for the best tasting fish.

So what’s your average angler to do when wanting a great tasting meal of walleye, bluegills, or crappie?  To me, the answer involves a small, but simple portion of the Ike Jime process in your livewell, about 15 minutes or so before you plan to clean the fish.  Brain stab your fish, then turn the fish upside down, and take a knife or even better, my favorite game shears, to cut the small portion of gill and connective tissue that meets at the “V” of the gills, all the way down to the spine.  Here’s a quick video if you’d like a demonstration - https://youtu.be/aFFJtbuYHzs

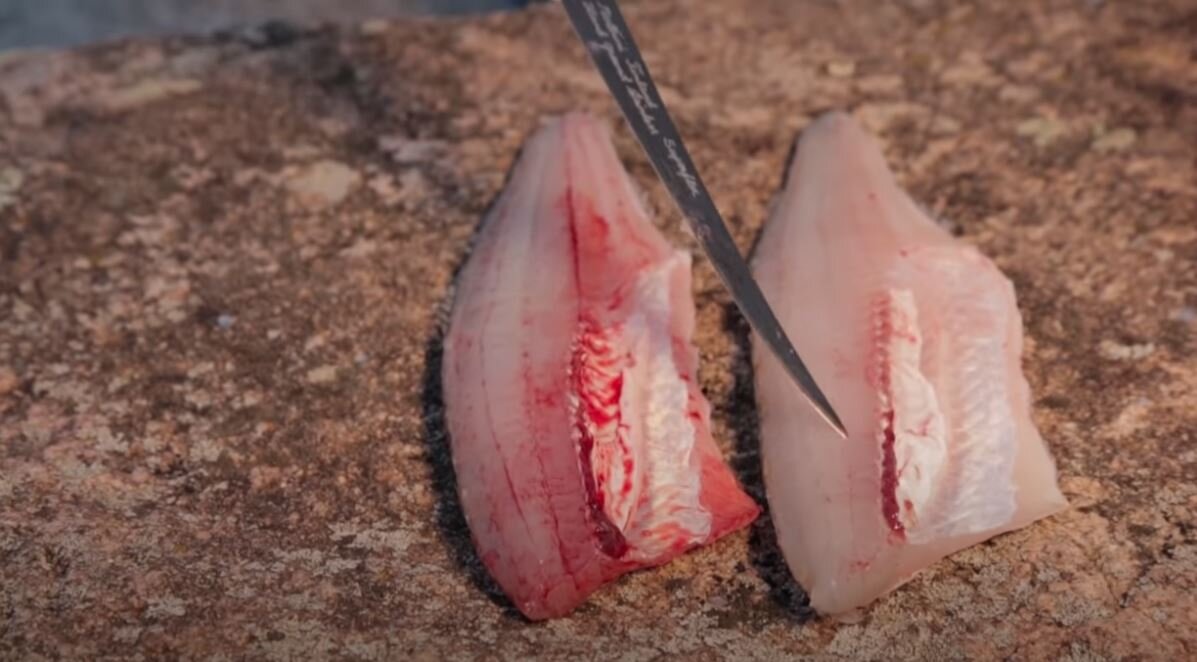
Fillet on right has been bled, and an un-bled fillet on left for comparison.

Fillet on right has been bled, and an un-bled fillet on left for comparison.

Perform this cut just before you make your run back to shore, put the fish in your livewell, and run the recirculation to pump bloody water from your well.  The fish will expunge blood from their fillets during your boat-ride, and when you go to clean them, the result will be a nearly snow-white fillet, sans a bit of blood immediately near the top of the fish’s rib cage.  Especially if you’re eating the fish soon thereafter, there’s no better way I know of to fillet and eat fish.  The result is always a firmer, tastier fillet than any other method I’ve tried, and I promise you’ll wish you’d done this sooner.

I’ve never tried the full method of cutting open the tail and inserting piano wire or other firm wire down the length of the spine, though I’m sure it helps or folks wouldn’t have gone through the trouble of doing so for centuries.  That said, for at least my purposes, it’s a step that’s too time consuming given how good the blood removal goes, and resulting taste is.  Speaking of, don’t trust advice regarding leaving blood, slime, or other “natural” portions of the fish on your fillets.  I’ve heard a number of times that “I want to taste the fish and that gives flavor,” or “You’re removing all the taste,” but those suggestions have fallen flat, and fishy at least to my taste buds.  In absence of this technique, a quick rinse of each individual fillet (that part is important), followed by a saltwater solution to draw out blood, then a soak in milk has been the next best method for me when dealing with un-bled fish. 

So give bleeding a try the next time you’re looking to keep a fresh meal of fish, as I’m betting it’ll be something you continue to use moving forward if you don’t already. 

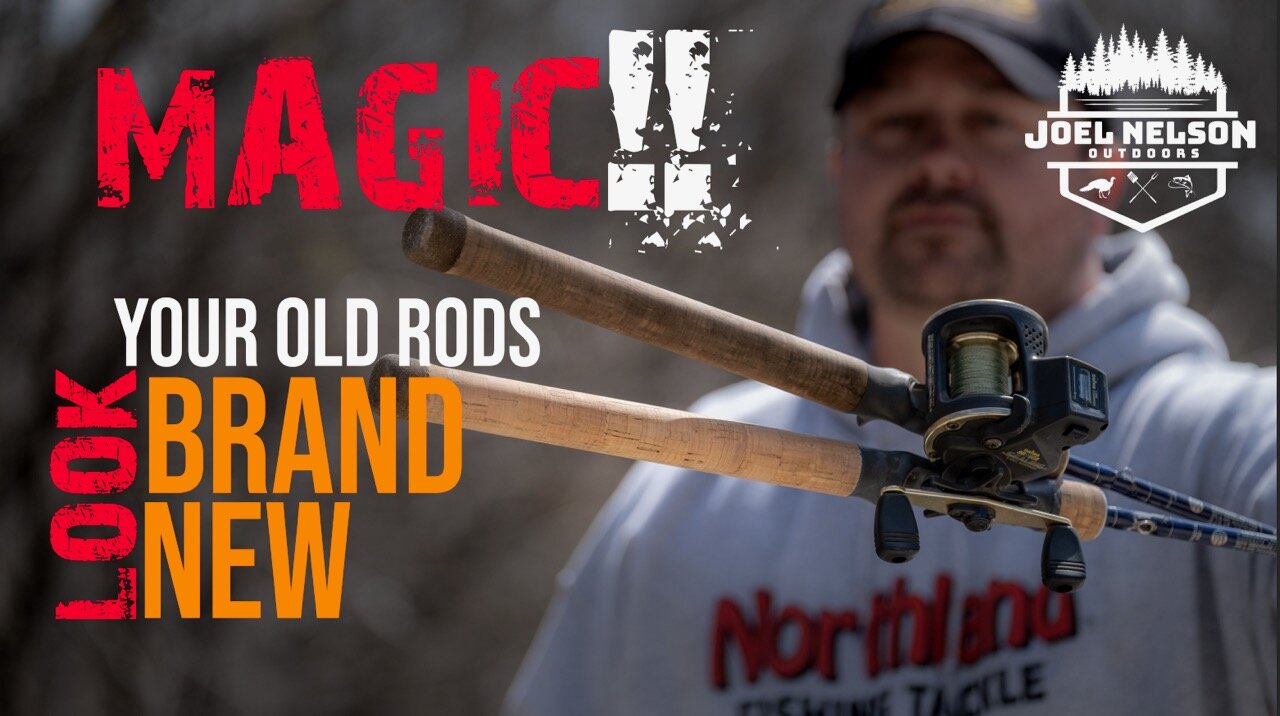
Cleaning Cork Fishing Rods - Make Old Rods Look New

Cork fishing rods have a great feel and comfort, but often get dingy after a few seasons. Here's how I restore the cork on mine to like-new condition. You'll...

Cork is one of the best grip materials you can have on a fishing rod. Along with classic lines and looks, you’ve got the comfort and weight savings that have made them a strong option among all classes of fishing rods. But cork gets dingy after a few years, or even within a single season if you don’t take care of your rods. Here’s how I make them look new again with some OxiClean and a good sponge.

-7430641960257699839.jpg

Ribbon Chips/Fries - The Ultimate Fish Fry Appetizer

The best shore lunch or fish fry requires great fish, but the sides are equally as important. Try some buffalo bleu cheese ribbon cut fries/chips for your ne...

I’ve spent my fair share of time in fish camps, lake-shore restaurants, and on remote island shore lunches across the US and Canada. No matter how many times I have fresh fish in the outdoors, I can’t get over how great the experience is. Truth be told however, not all fish-fry’s are created equal, and from what I’ve seen, the best of the best often include some incredible sides.

Potatoes are a staple in any good shore-lunch, and you’ve got the oil going for fish so you might as well make use of it. Here’s a great way to make ribbon-cut fries/chips with this handy vegetable slicing tool . The best part is that you can really customize this one to your liking by adding buffalo/bleu cheese, BBQ seasoning, loaded baked potato toppings, and even beer cheese soup!

I got the idea for this one when headed to the Minnesota State Fair and seeing all of the ribbon cut fries on a stick, dressed with cheese. From there, a trip to JL Beers in Fargo further stoked interest, and I knew I just needed to find a good ribbon slicer for the outdoors. I’ve been doing this now for over a decade, and these are a request from friends and family anytime we cook fish outside.

8902999269204087422.jpg